Sprinkle Magic: An Enchanted Fairy Slime Party for Kids!
Calling all little fairies!
It’s time to swirl, squish, and sprinkle your way through a slime-filled fairy adventure that’s cloud-soft, pastel-bright, and crowned with a cascade of rainbow fairy dust.
A Fairy Slime Party is a fluttering celebration of creativity and colour. From golden “butter” slime to sprinkle-packed floam, every squish becomes a moment of magic. It’s a sensory playground where kids craft their own sparkling slime treasures, giggle through squishy chaos, and leave with memories that sparkle like fairy dust in sunlight.
So round up your fairy friends, grab your glue, and let the slime magic begin!
What You’ll Find in This Post:
- Magical Fairy Invitations
- How to Set Up a Fairy Slime Party
- Make Your Fairy Slime
- Enchanted Fairy Games
- Sweet Fairy Treats
- Magical Fairy Party Favours
- More Fairy Party Ideas to Explore
- Fairy Slime Party FAQs
Magical Fairy Invitations
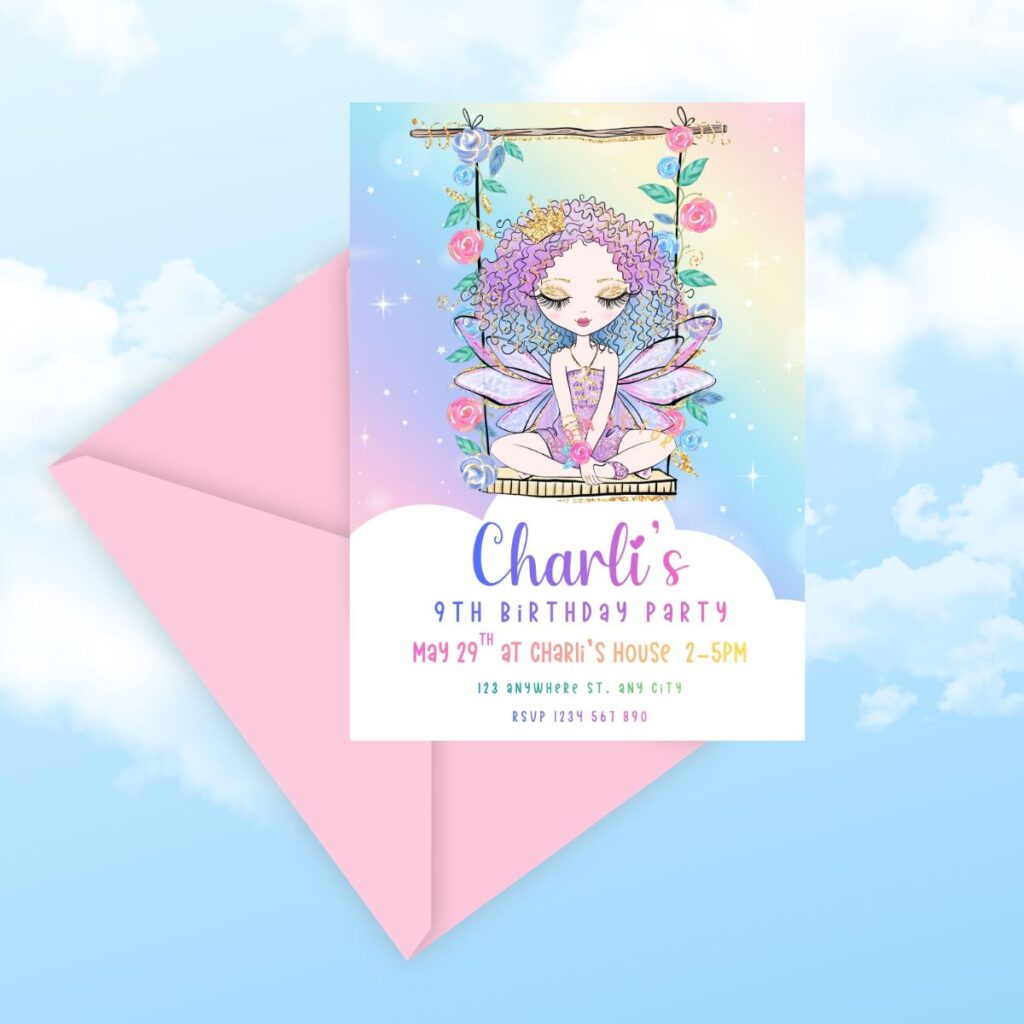
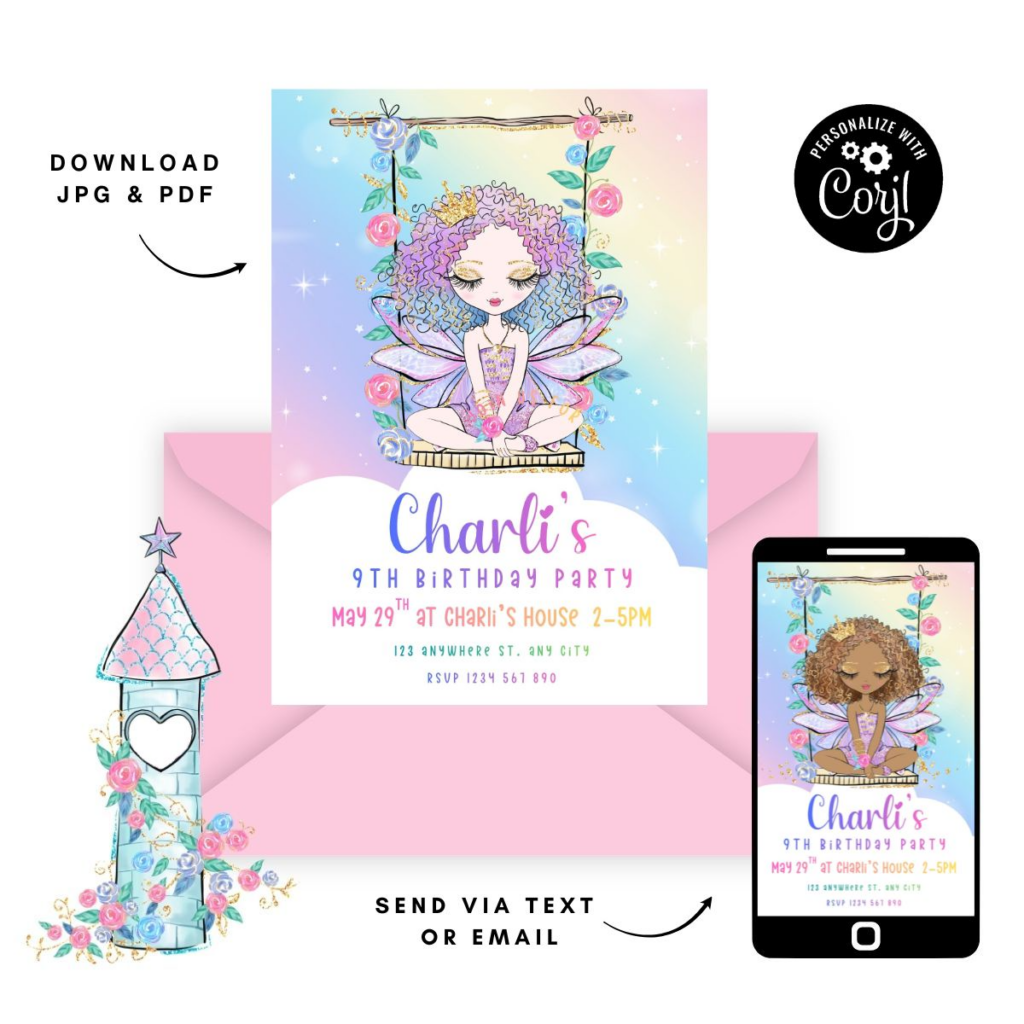
Kick off your fairy slime party with invitations that feel like they fluttered straight out of a flower garden. Create custom invites featuring fairies, fairy wings, soft pastel flowers, or explore ready-made designs at Inspired Party Design to instantly bring your theme to life.
💡 Tip: Tuck a tiny “What’s Your Fairy Name?” card inside each envelope for a fun surprise!
How to Set Up a Fairy Slime Party
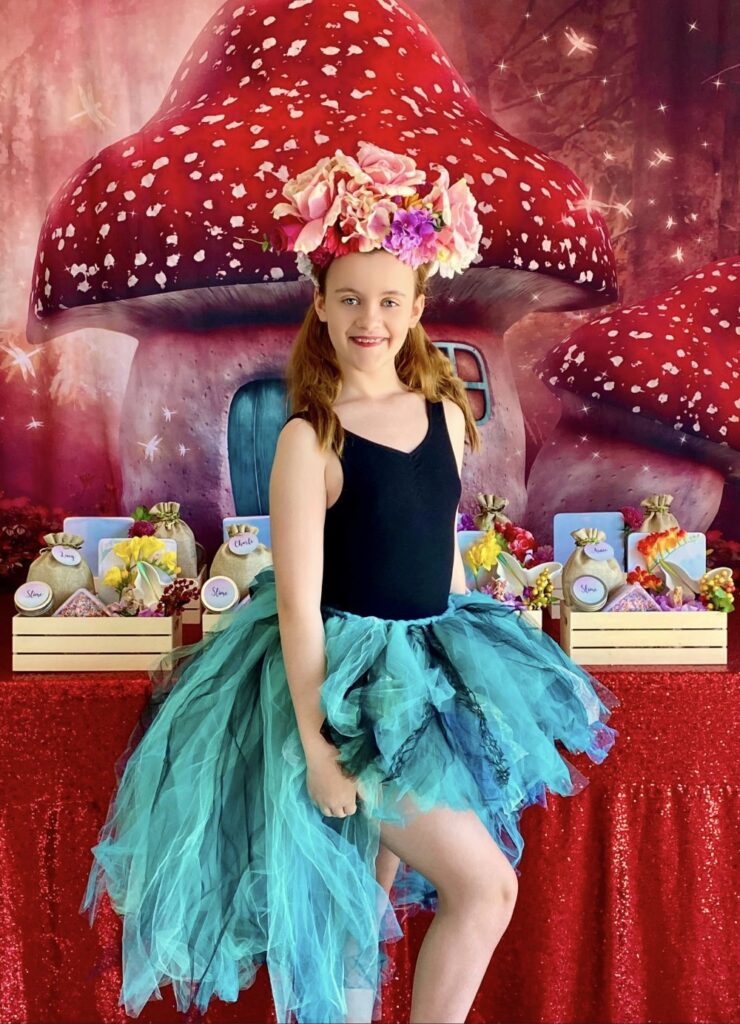
Transform your party space into an enchanted fairy slime station where creativity can dance like fairies across a moonlit garden.
Party Setup Essentials:
- 6-foot folding table
- 90 x 132-inch sequin tablecloth
- 10-foot adjustable backdrop stand
- 6-foot fabric backdrop
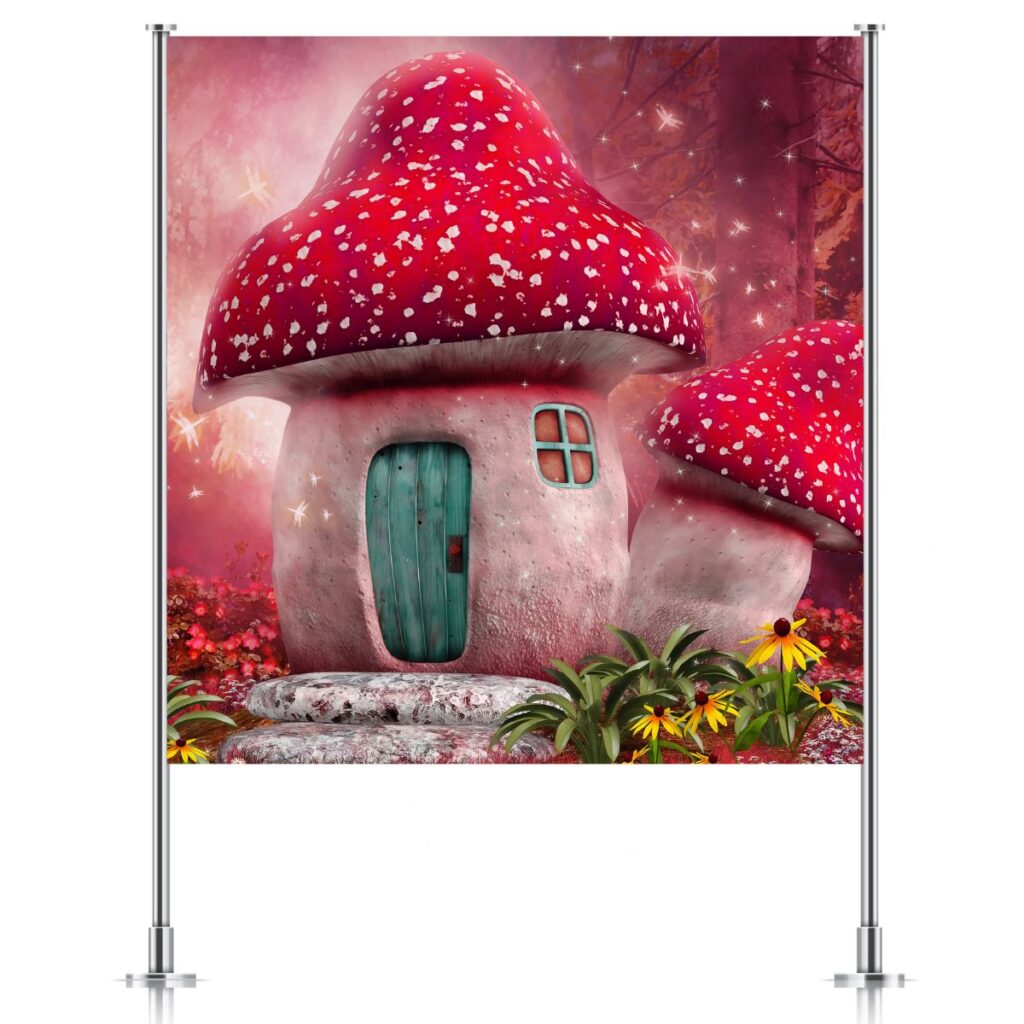
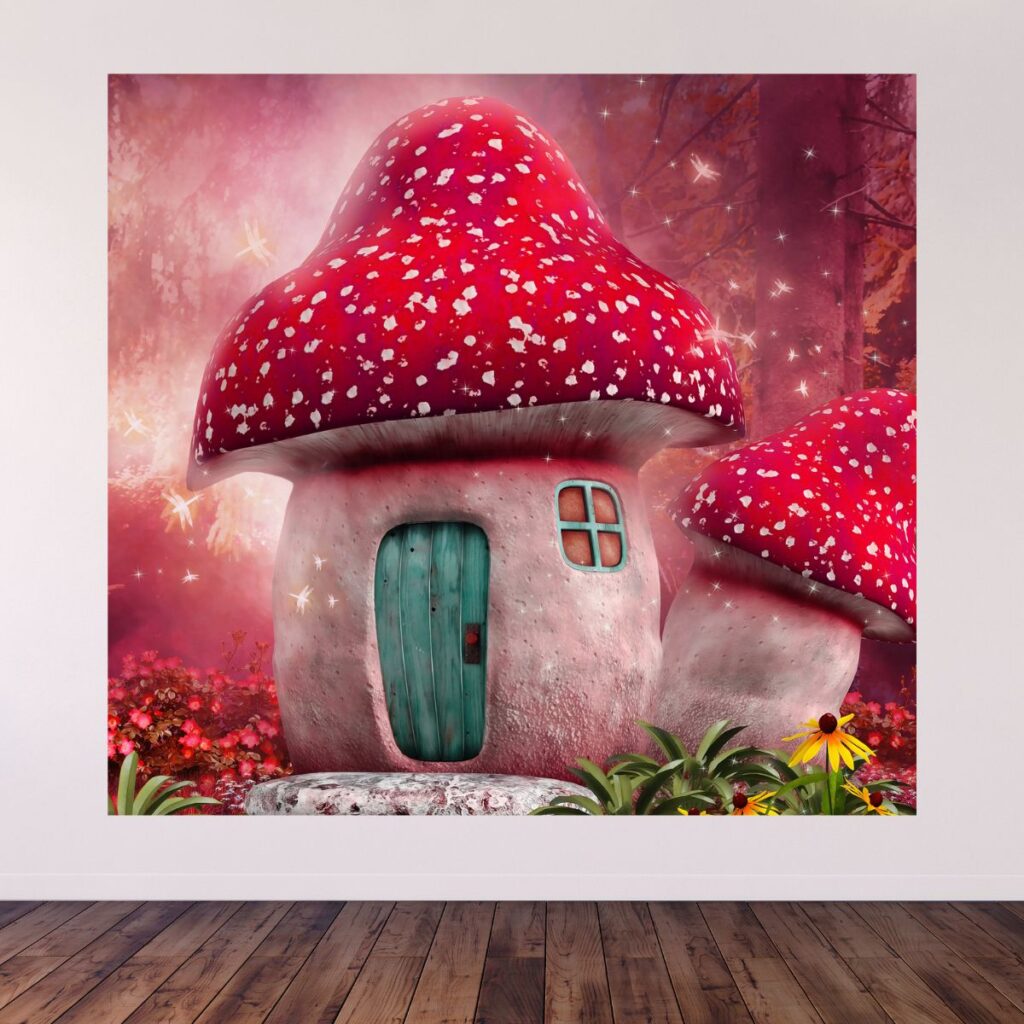
💡 Tip: Fly on over to Inspired Party Backdrops for reusable, photo-ready designs that will instantly turn any room into a whimsical fairy garden.
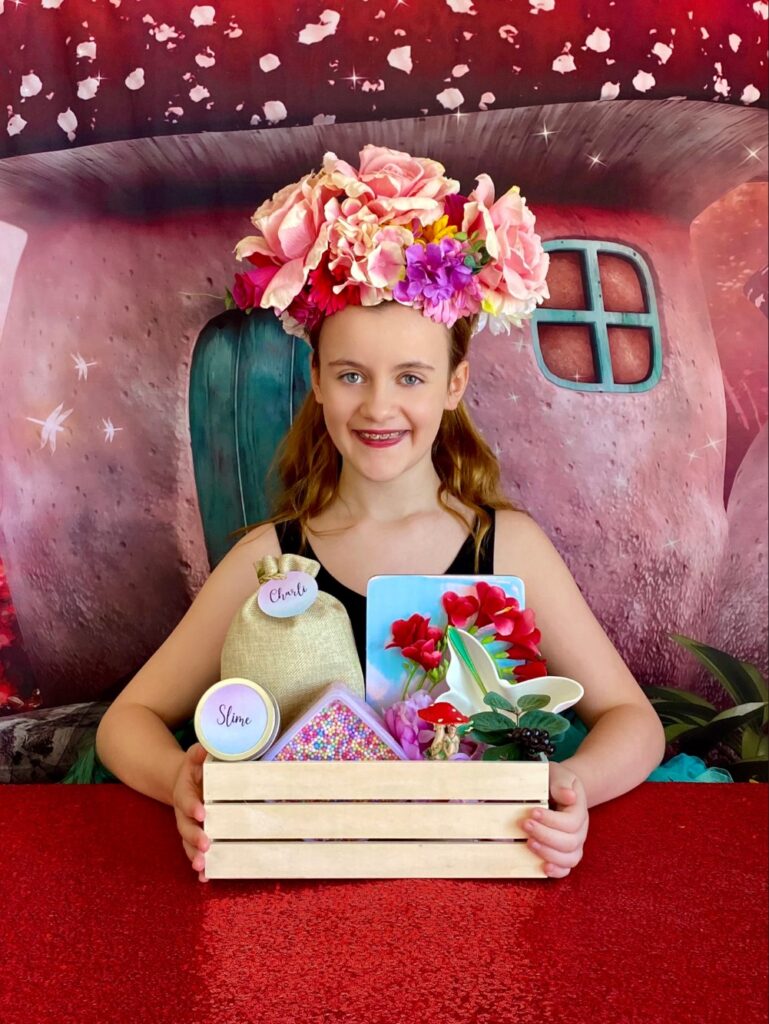
Fairy-Themed Decorations:
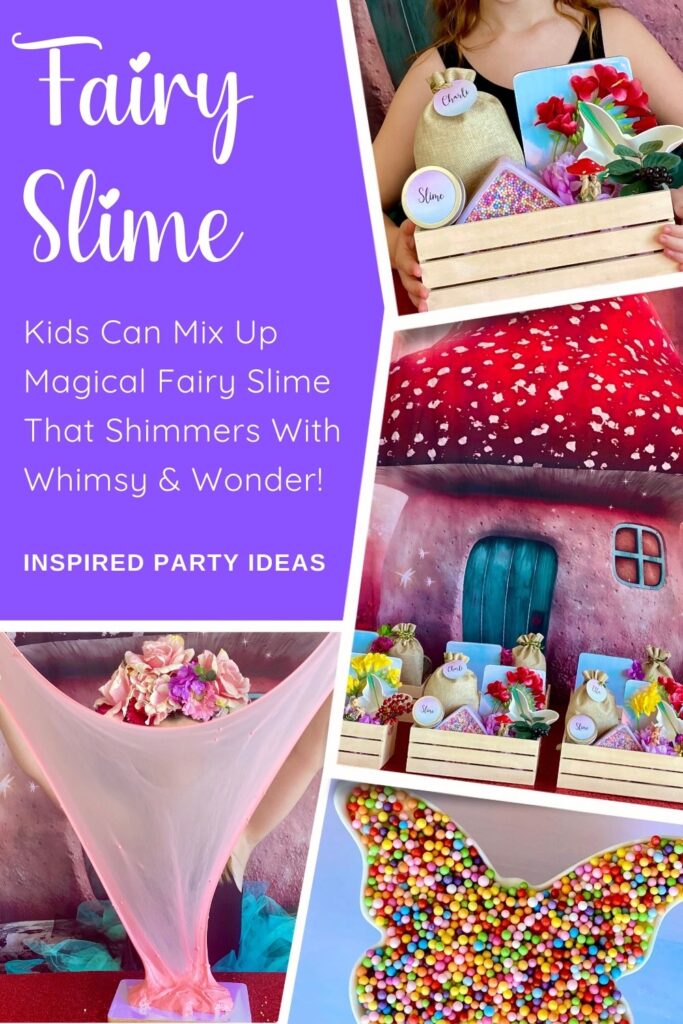
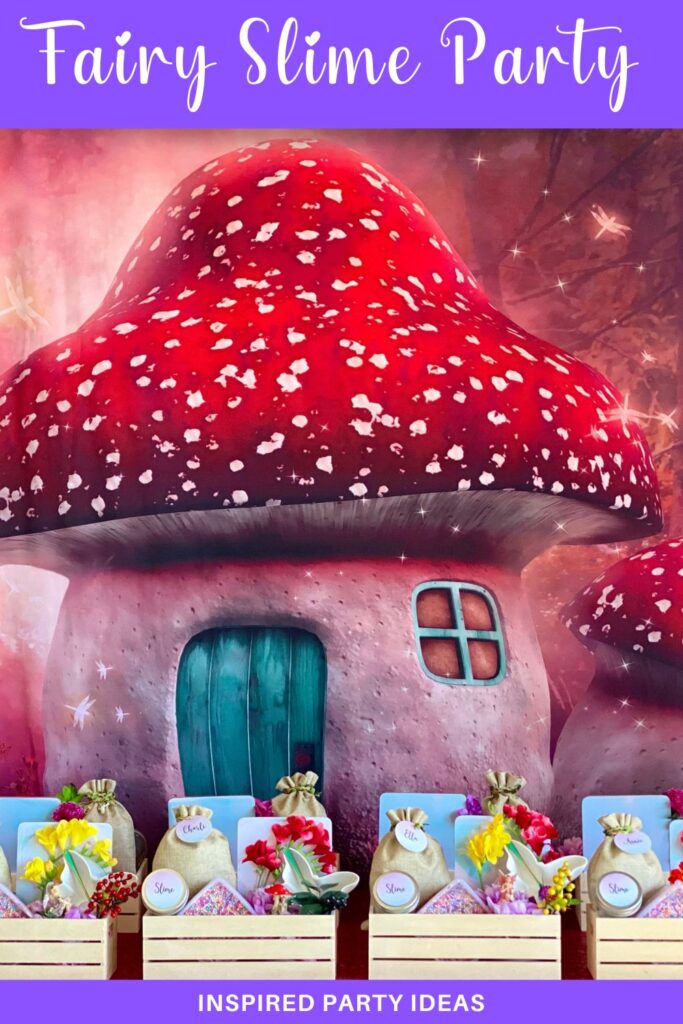
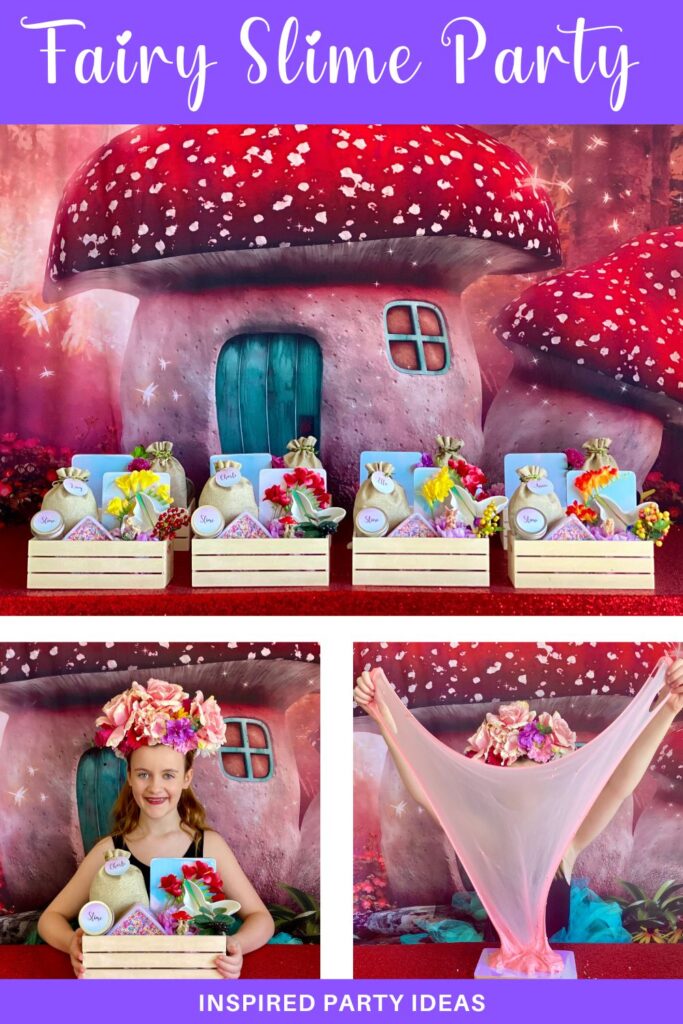
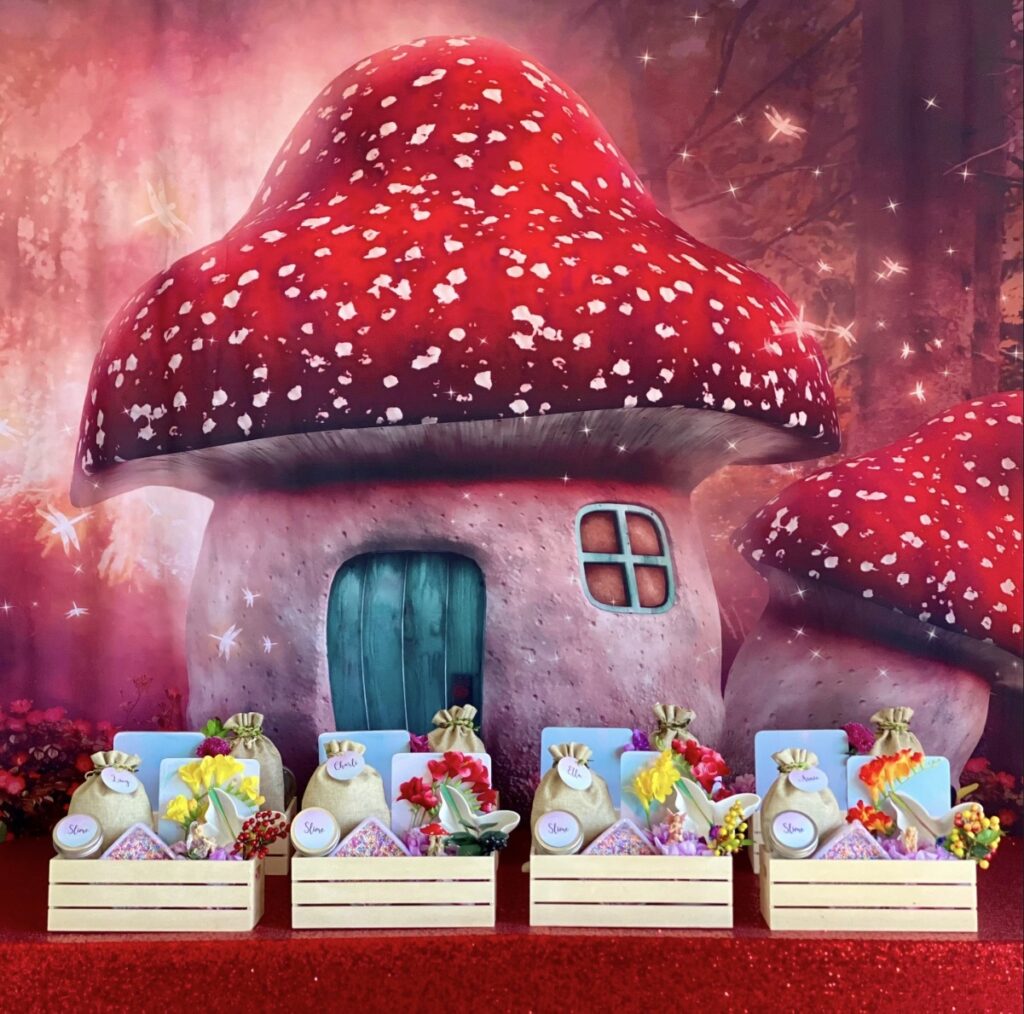
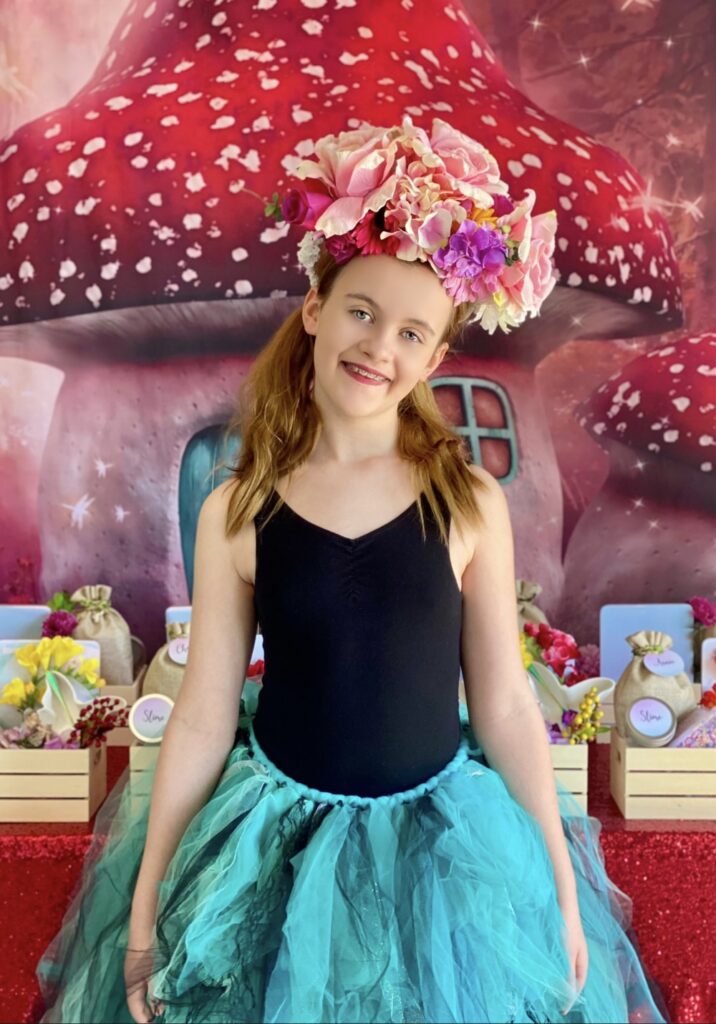
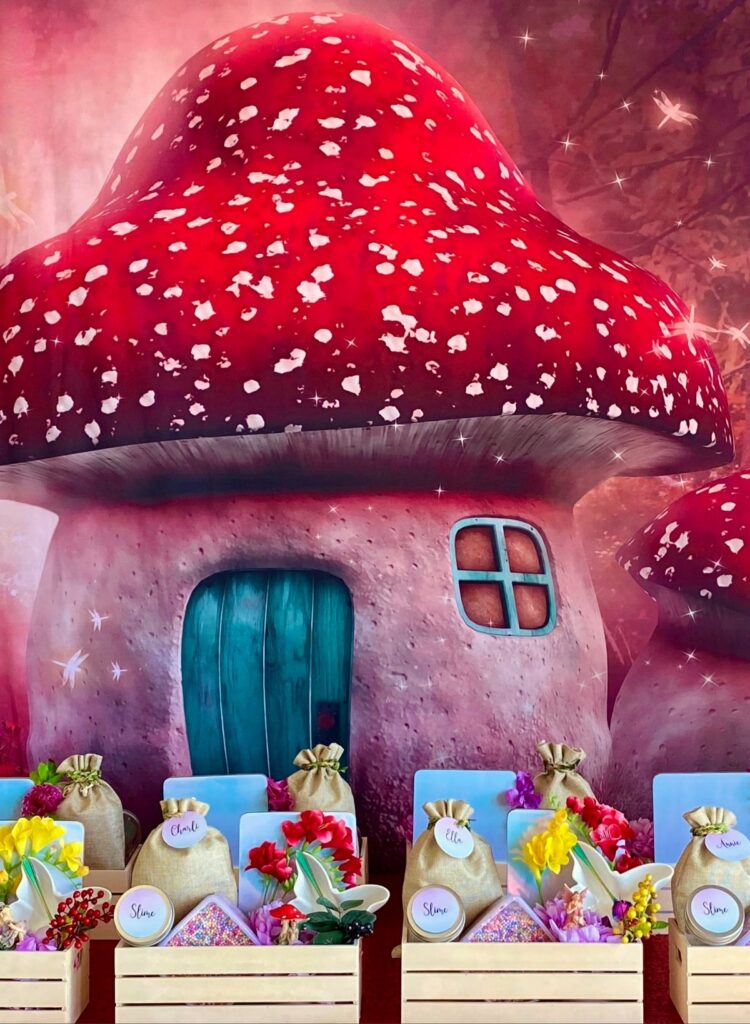
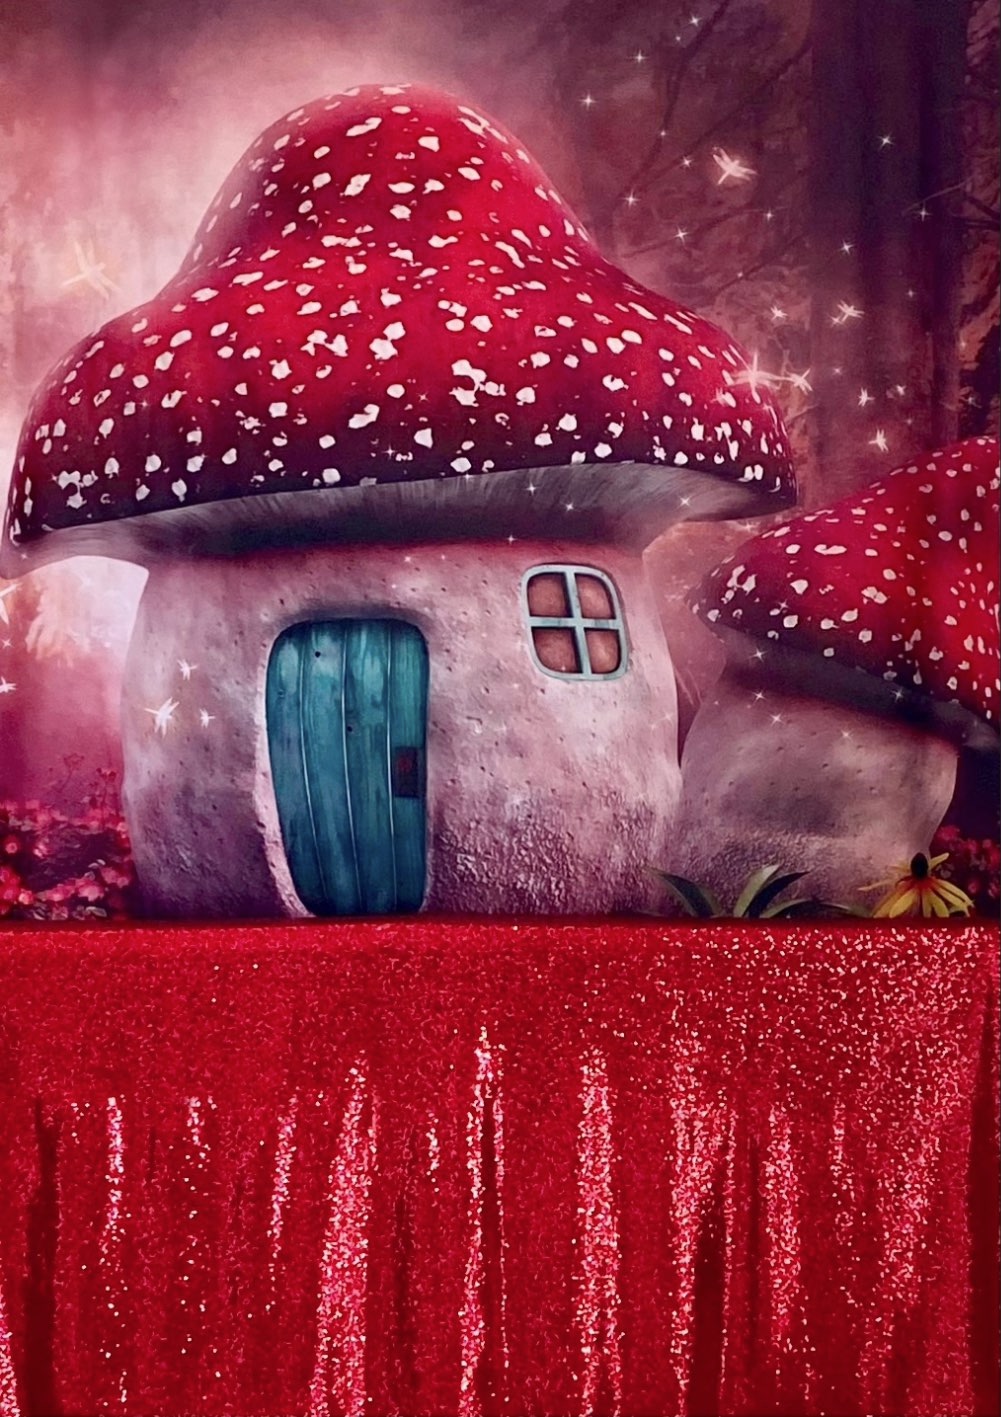
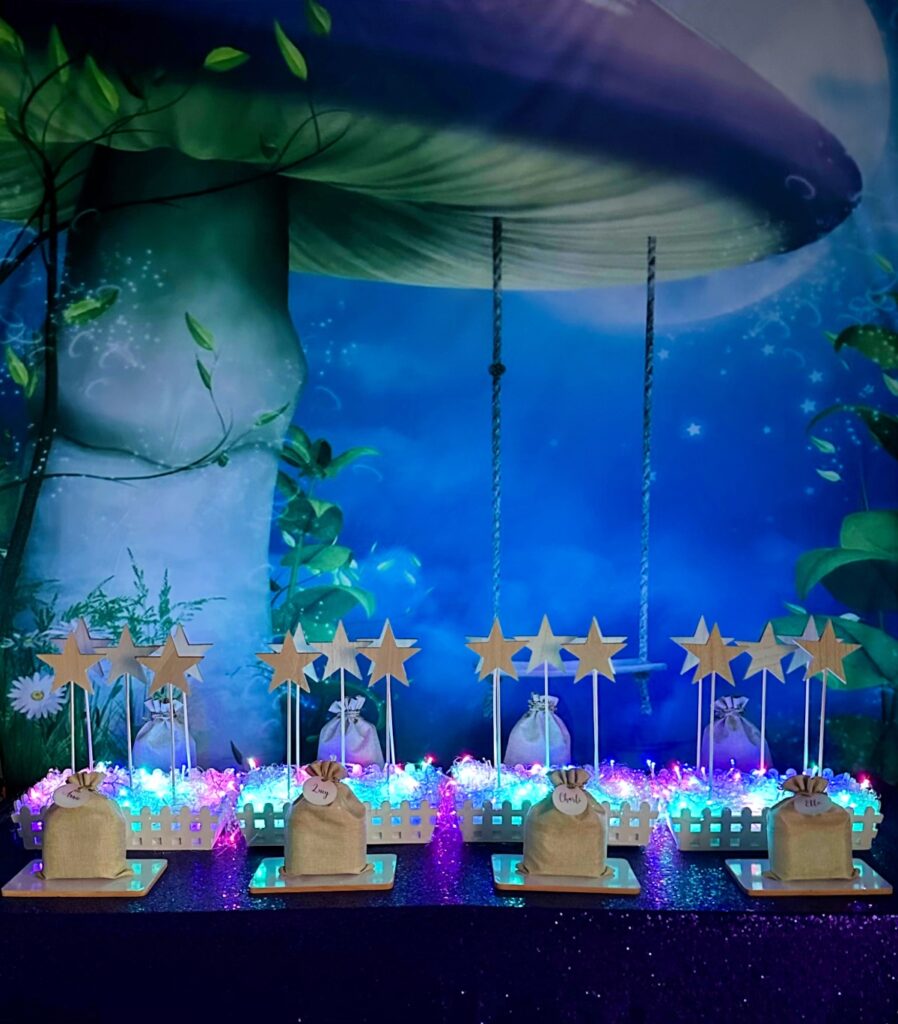
- Fairy mushroom house backdrop
- Red sequin tablecloth
- Wooden crates to hold slime supplies
- Hessian bags for organisation
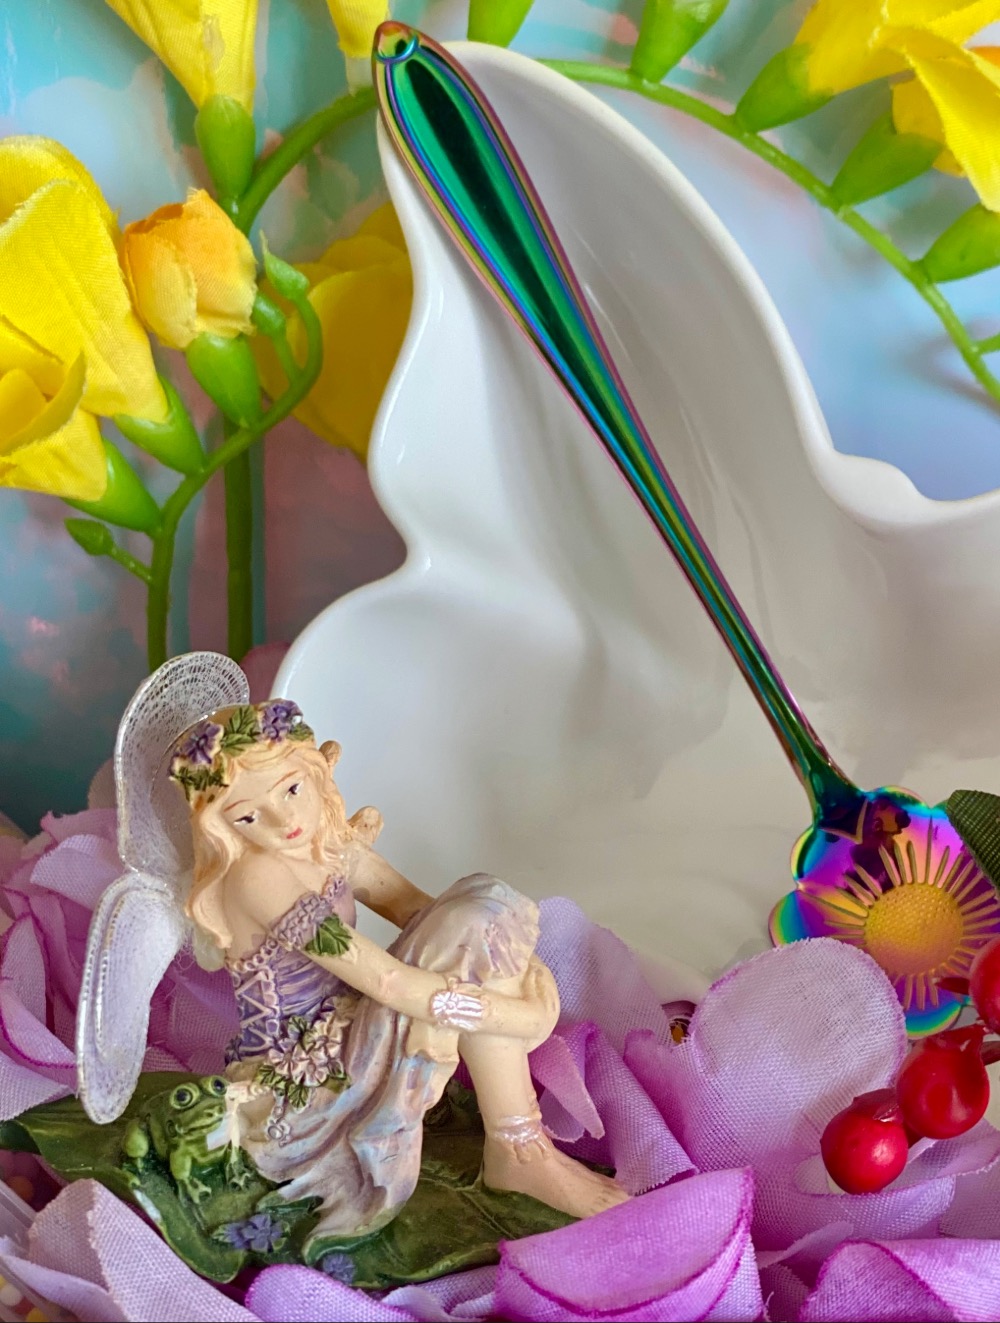
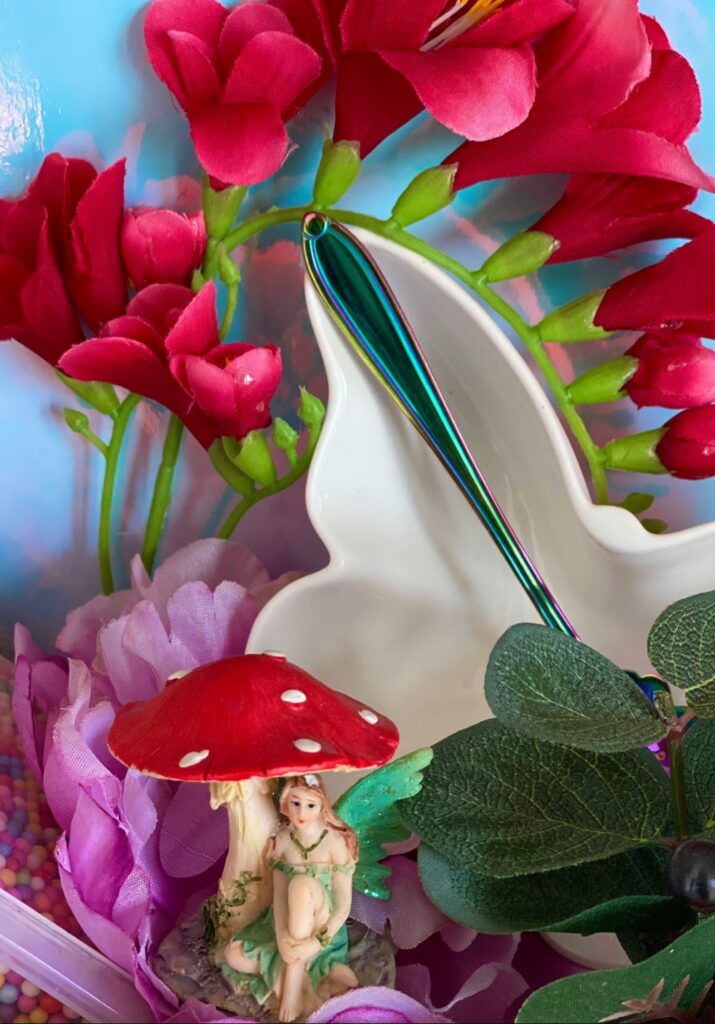
- Faux flowers for colour
- Mini fairy figurines
💡 Tip: If you’re on a budget, swap crates for large bowls and use faux greenery or moss to create an enchanted forest feel.
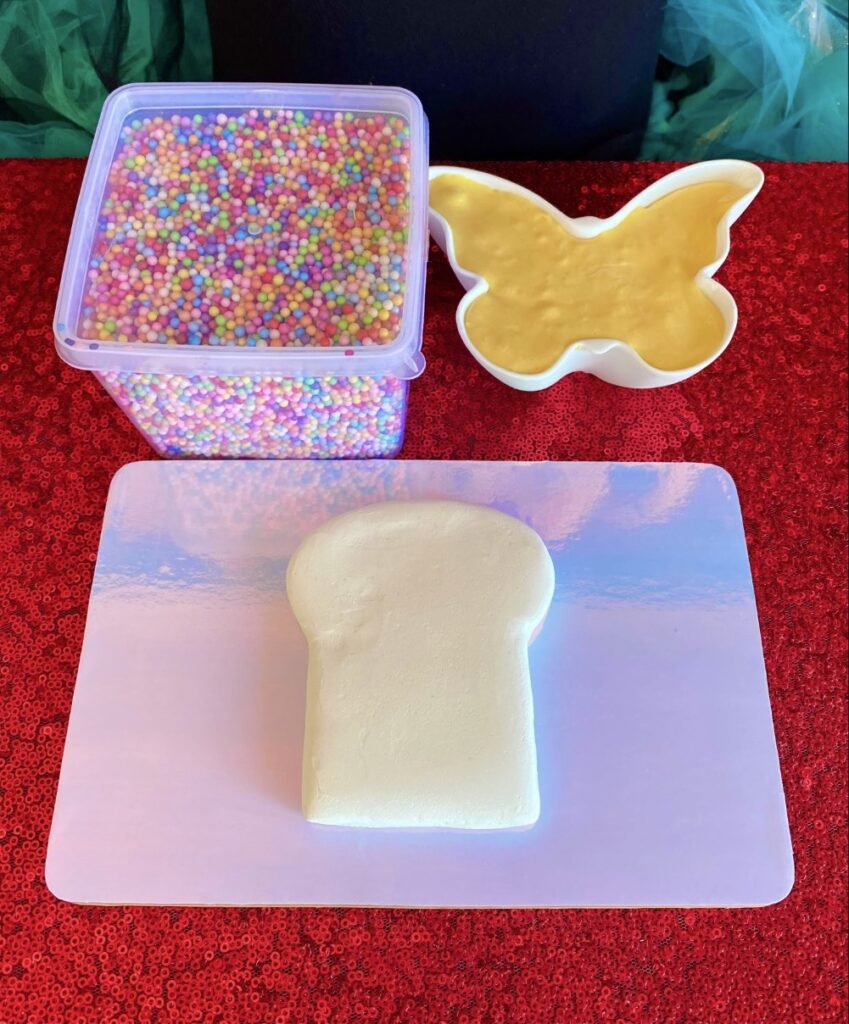
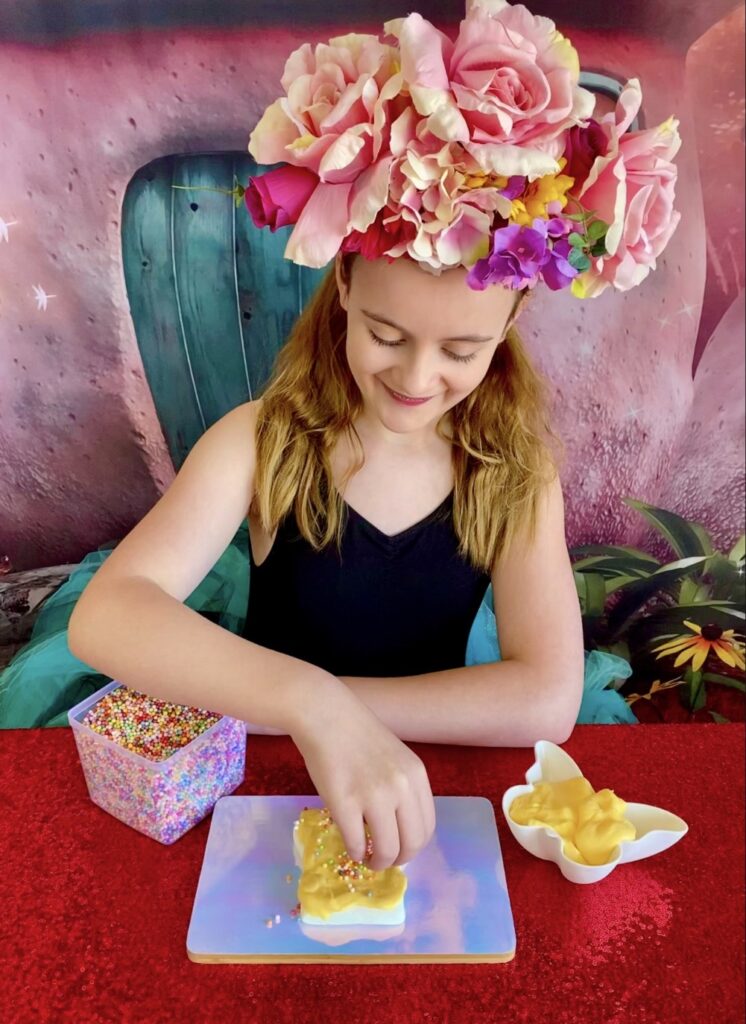
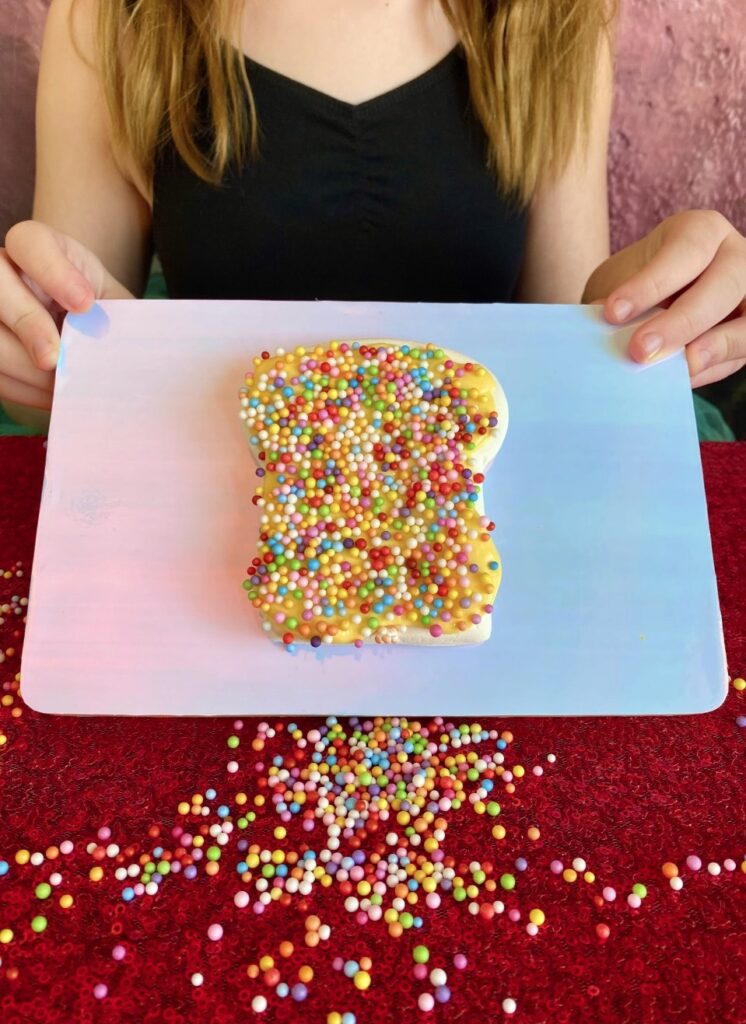
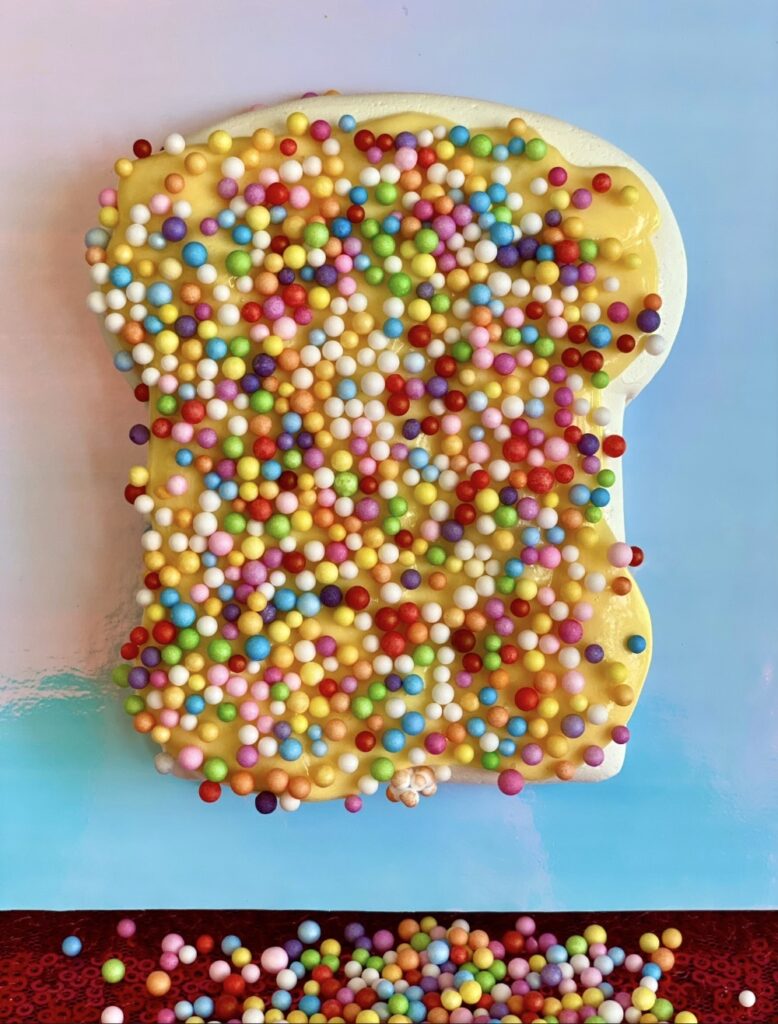
Make Your Fairy Bread Slime
It’s time for the buttery main event, where simple ingredients transform into squishy fairy bread topped with rainbow sprinkles!
What You’ll Need:
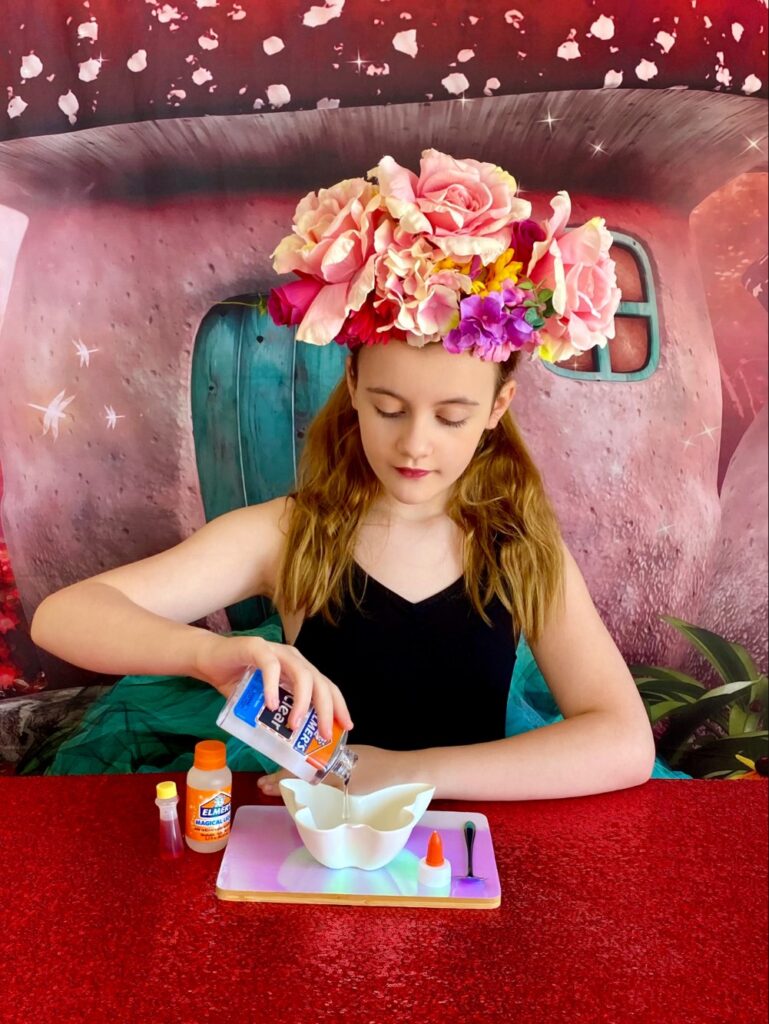
- Elmer’s clear glue (5 fl oz / 147 ml per child)
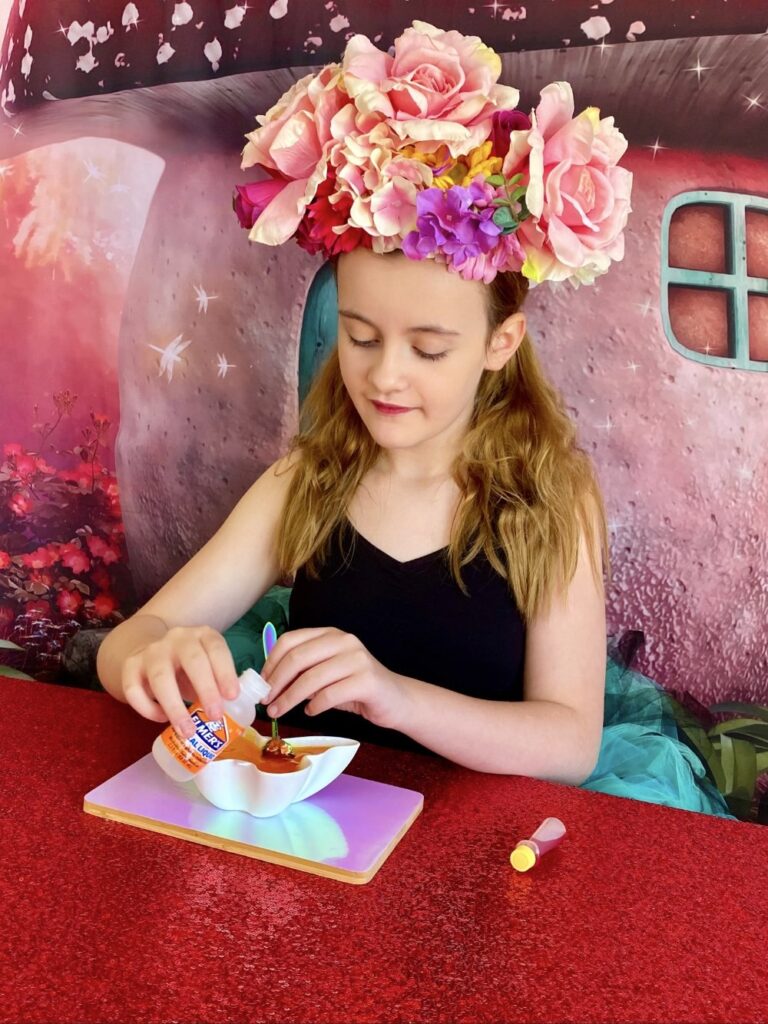
- Elmer’s Magical Liquid (2.3 fl oz / 68 ml per child)
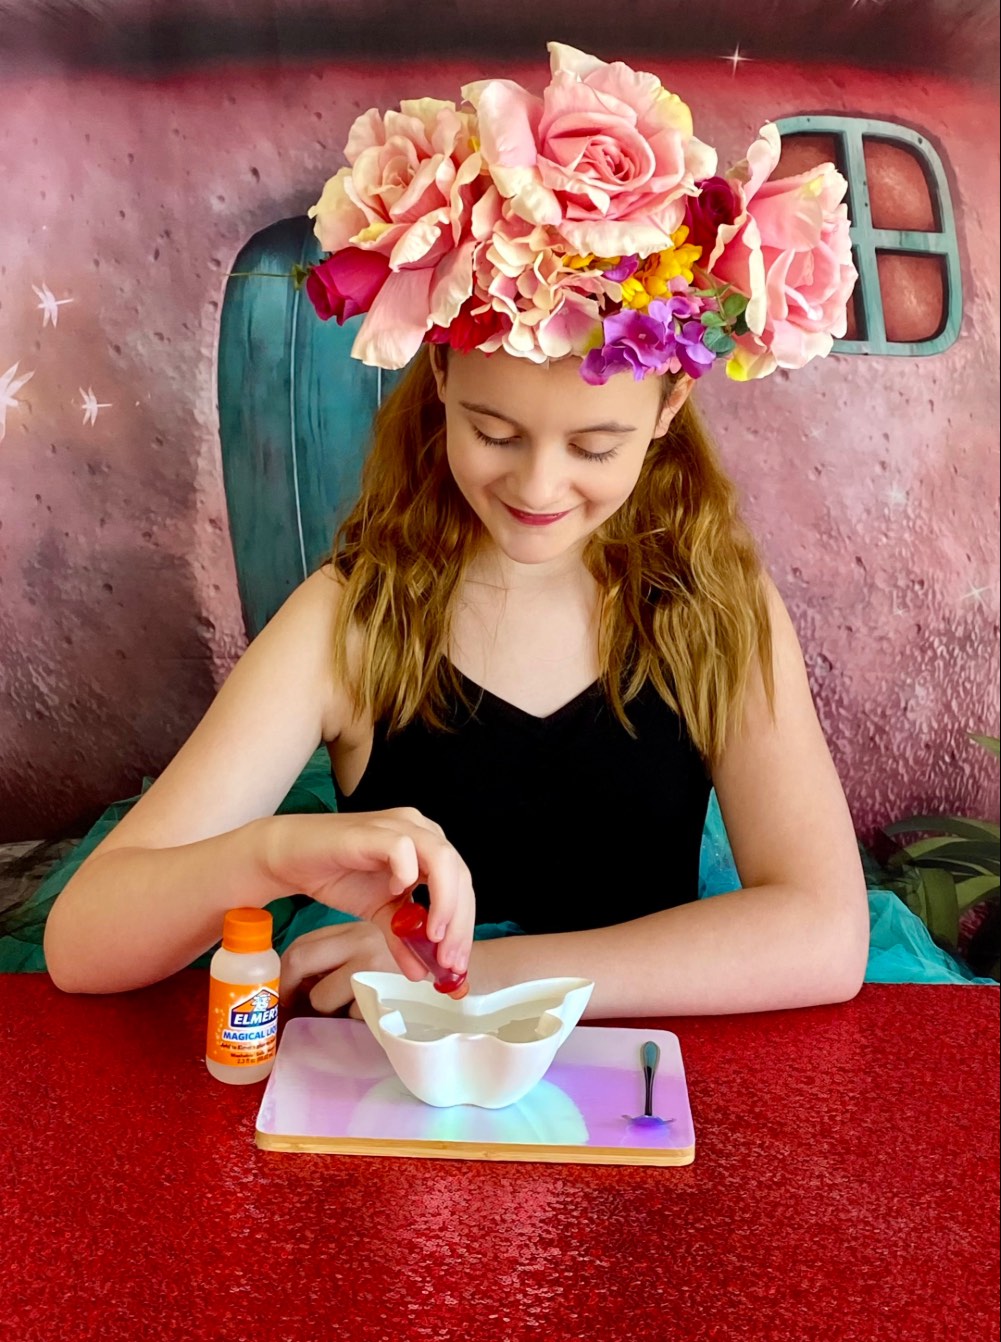
- Yellow food dye
- Soft clay (Model Magic works beautifully)
- Rainbow coloured foam balls
- Butterfly mixing bowls
- Fairy-themed mixing spoons
- Breadboards or large wipeable placemats
- Clear screw-top containers for slime storage
💡 Tip: Give each child their own glue, activator and foam ball container to reduce spills and keep the fun flowing.
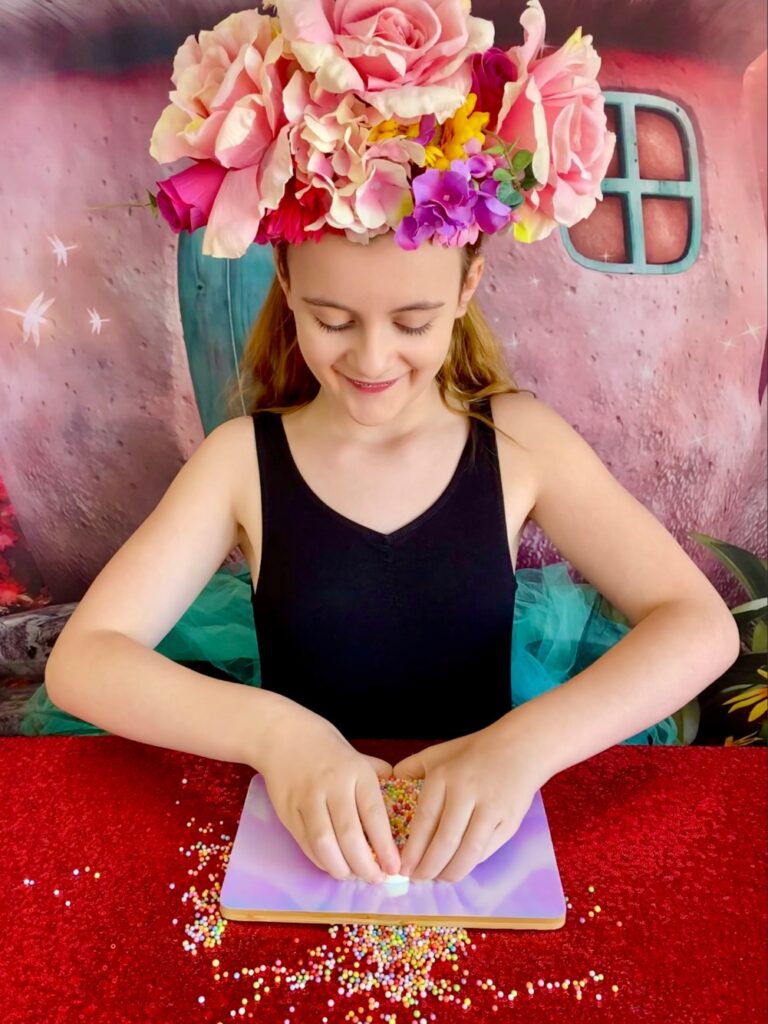
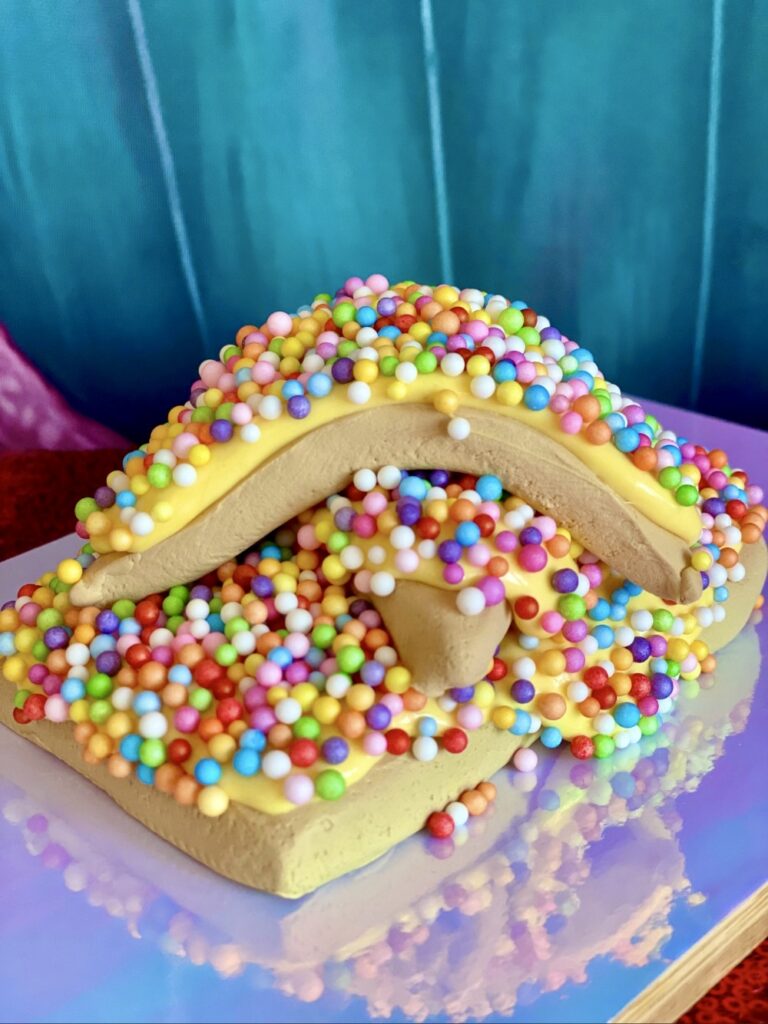
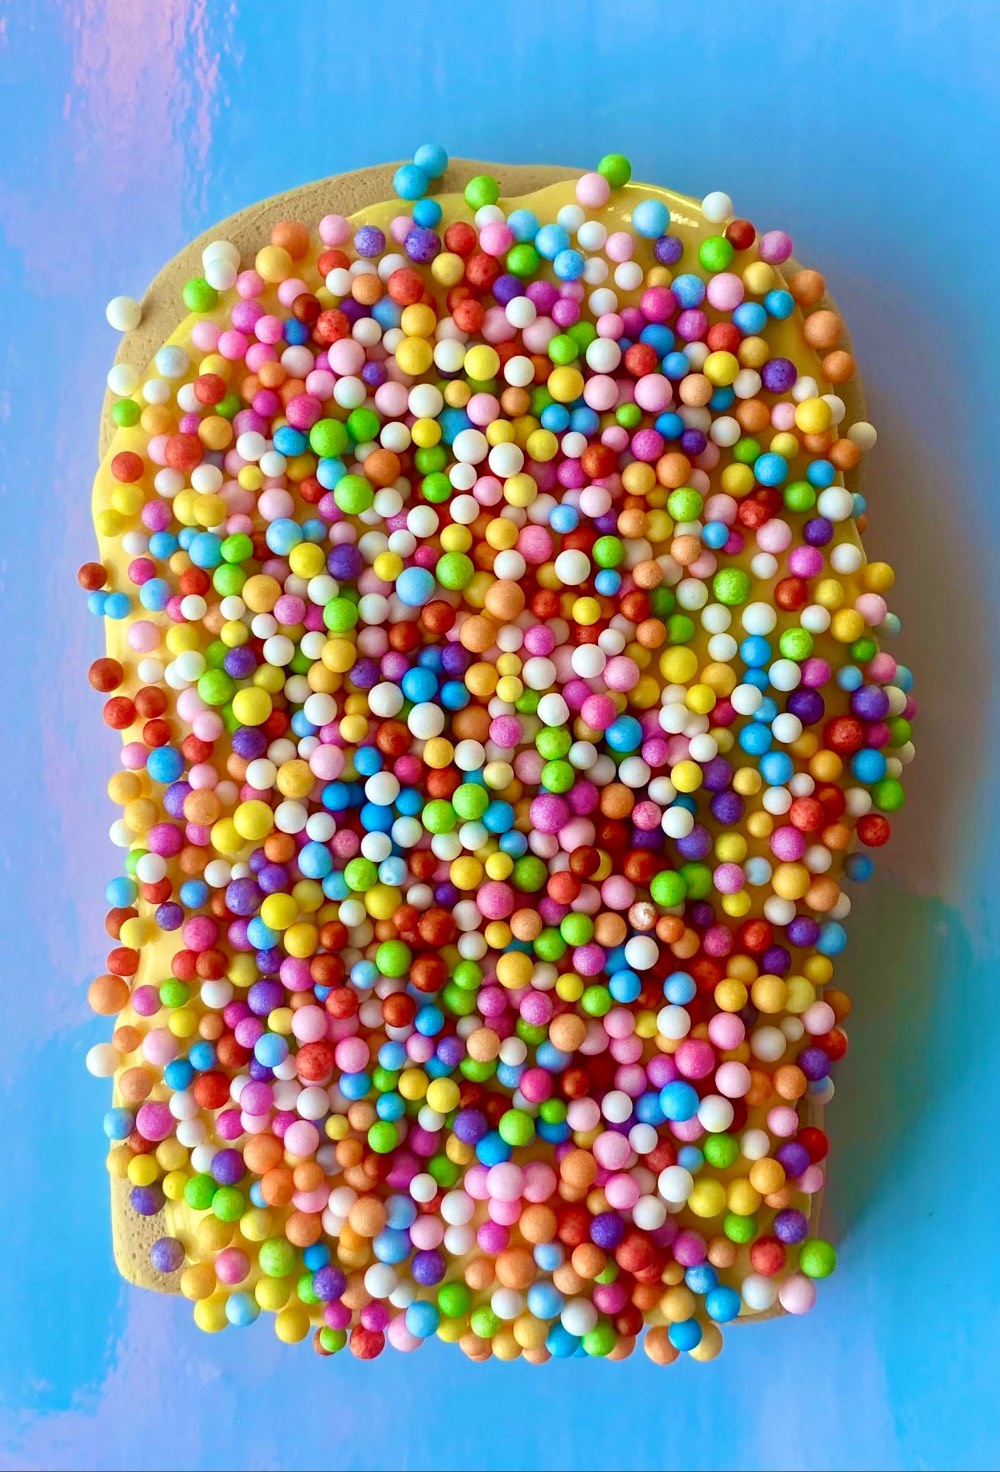
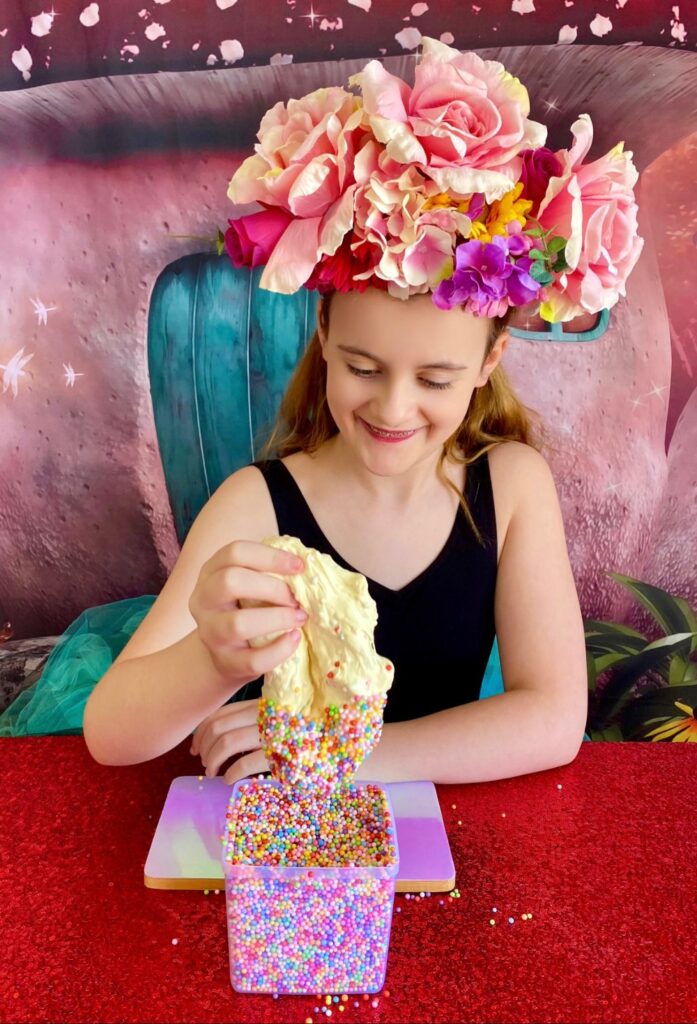
Fairy Bread Slime Instructions:
In Australia, fairy bread is a classic party favourite, and this slime activity gives it a fun, sugar-free twist.
1. Create the Slime Base
Empty one bottle of clear glue into a bowl. This is your fairy butter beginning.
2. Add the Golden Glow
Add a few drops of yellow food dye and stir. It may look slightly orange at first, but keep stirring.
3. Awaken the Slime
Slowly mix in Elmer’s Magical Liquid. Watch as the mixture gathers and pulls away from the bowl.
4. Stretch and Soften
When the slime is no longer sticky, knead it until smooth, glossy, and stretchy.
5. Add the Butter Texture
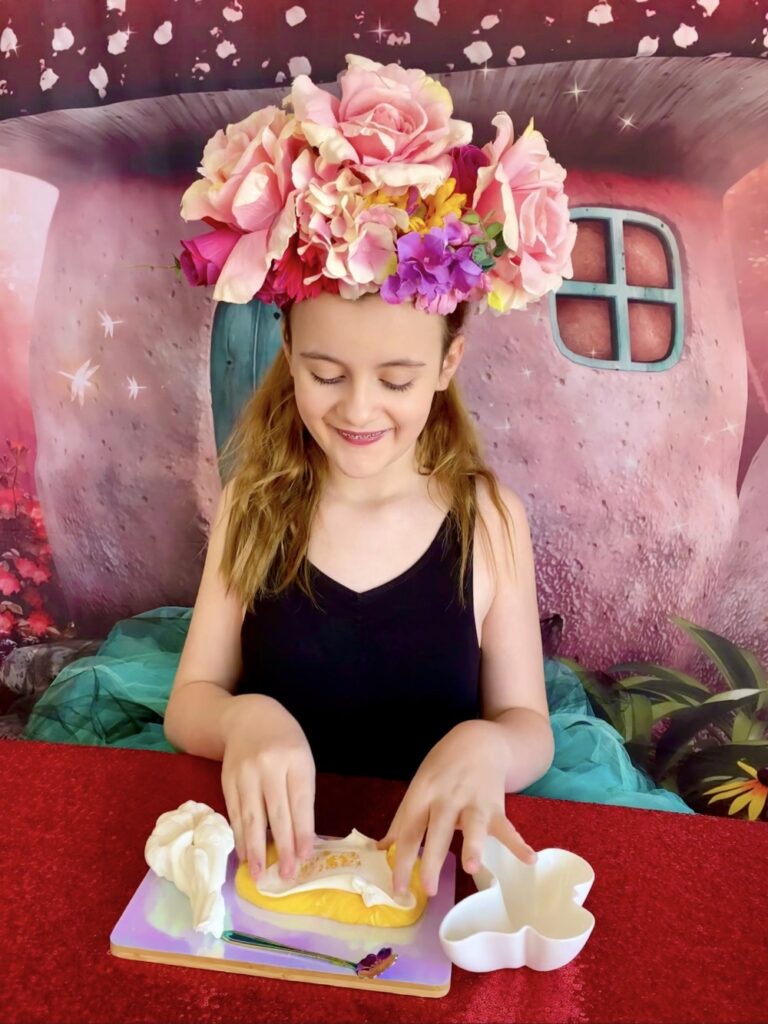
Stretch small pieces of soft white clay into the slime. As you knead, it transforms into soft, pastel-yellow butter slime.
6. Shape the Bread
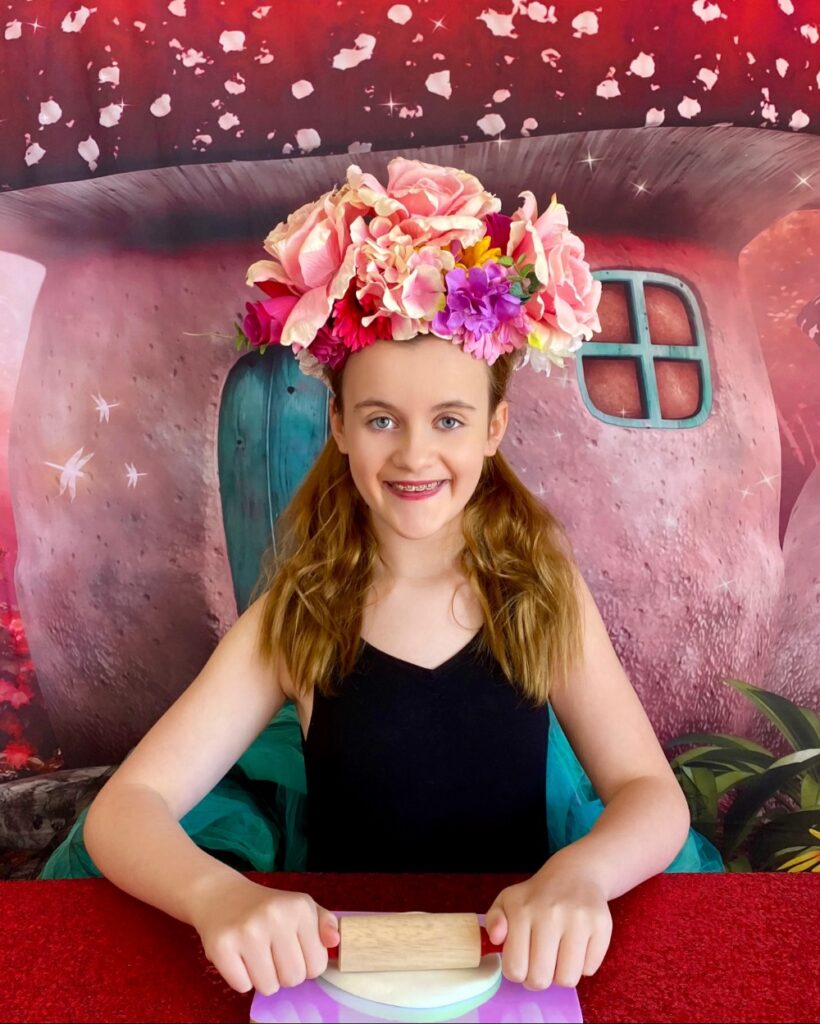
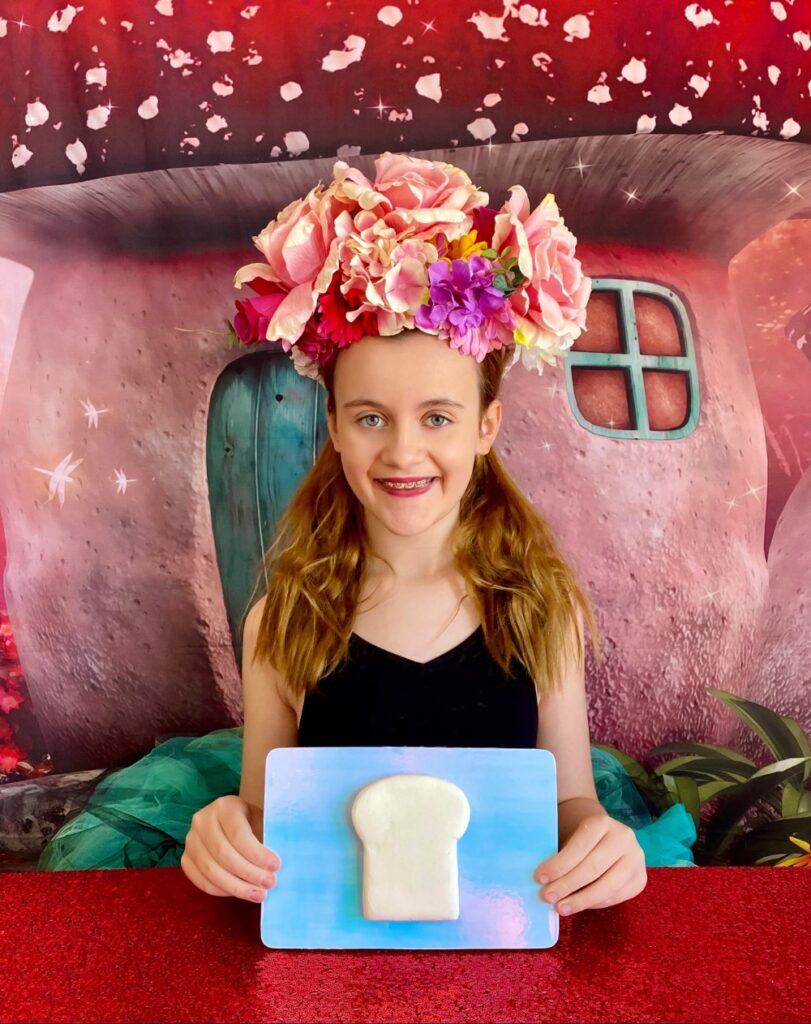
Roll white clay into a flat bread slice shape on your board.
7. Spread the Butter
Place the butter slime on top of the clay bread.
8. Sprinkle the Fairy Dust
Add rainbow foam balls like magical 100s & 1000s sprinkles.
9. Squish and Transform
Fold, stretch, and squish until the slime becomes fluffy floam packed with sprinkle texture.
10. Store the Magic
Place finished slime into secure containers for safe transport home.
💡 Tip: For younger children, prepare the slime base ahead of time so they can just focus on decorating and playing.
Fairy Bread Slime Variation (Easy Version)
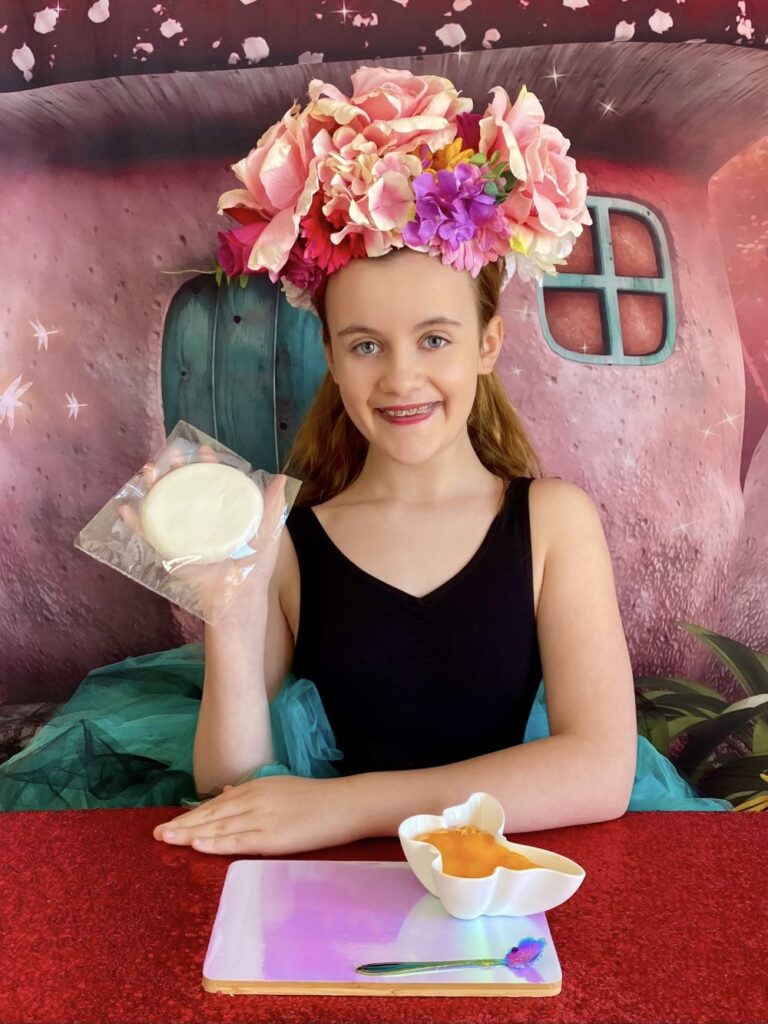
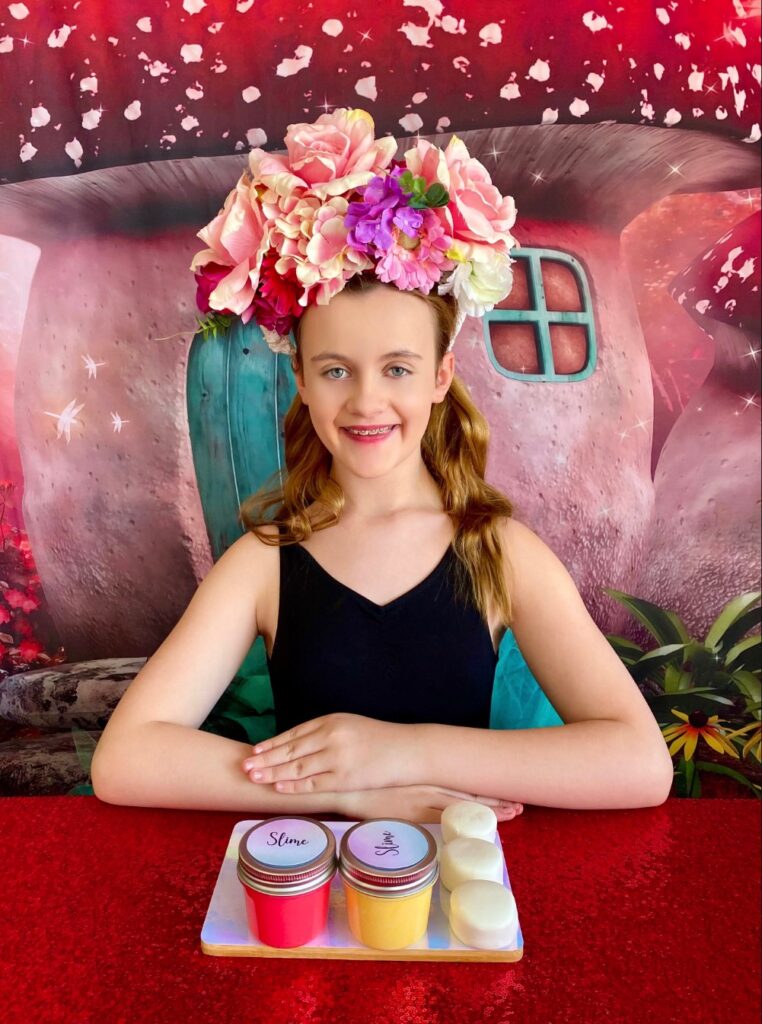
Make a large batch of pink slime and butter slime and divide it into small jars for each child. Prepare soft clay rounds using Model Magic clay and seal them in cellophane bags to keep them soft. This ensures all items are pre-made, and children simply assemble and decorate their fairy bread slime during the party.
What You’ll Need:
- Pre-made pink slime base
- Pre-made butter slime
- Coloured foam balls
- Clay rounds
💡 Tip: Save time by purchasing pre-made slime base in bulk. Just add colour, and divide it into small containers for a quick and easy setup.


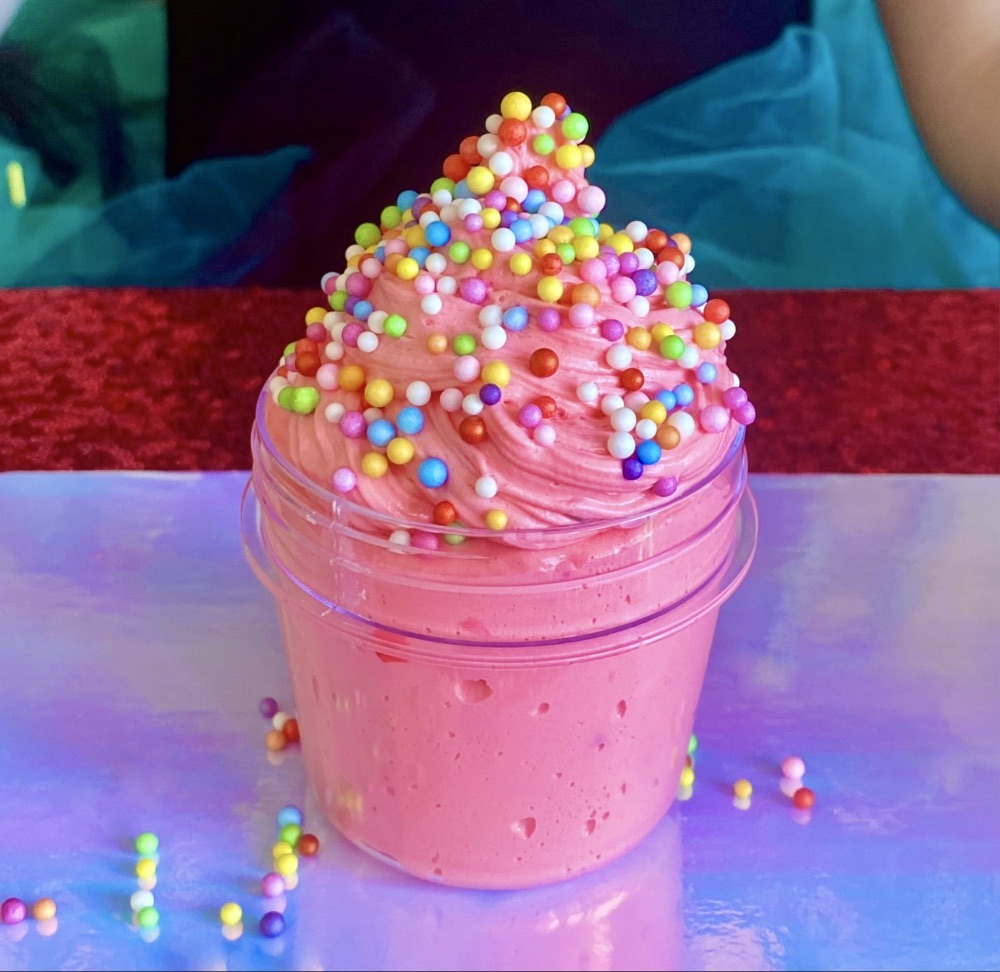
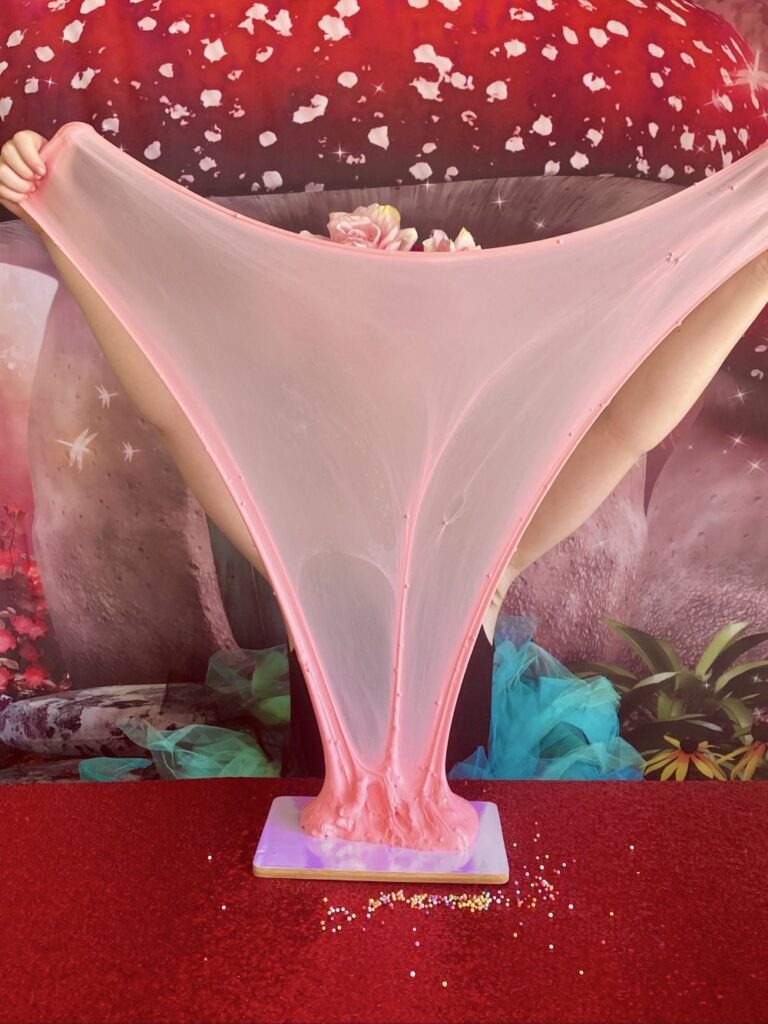
Instructions:
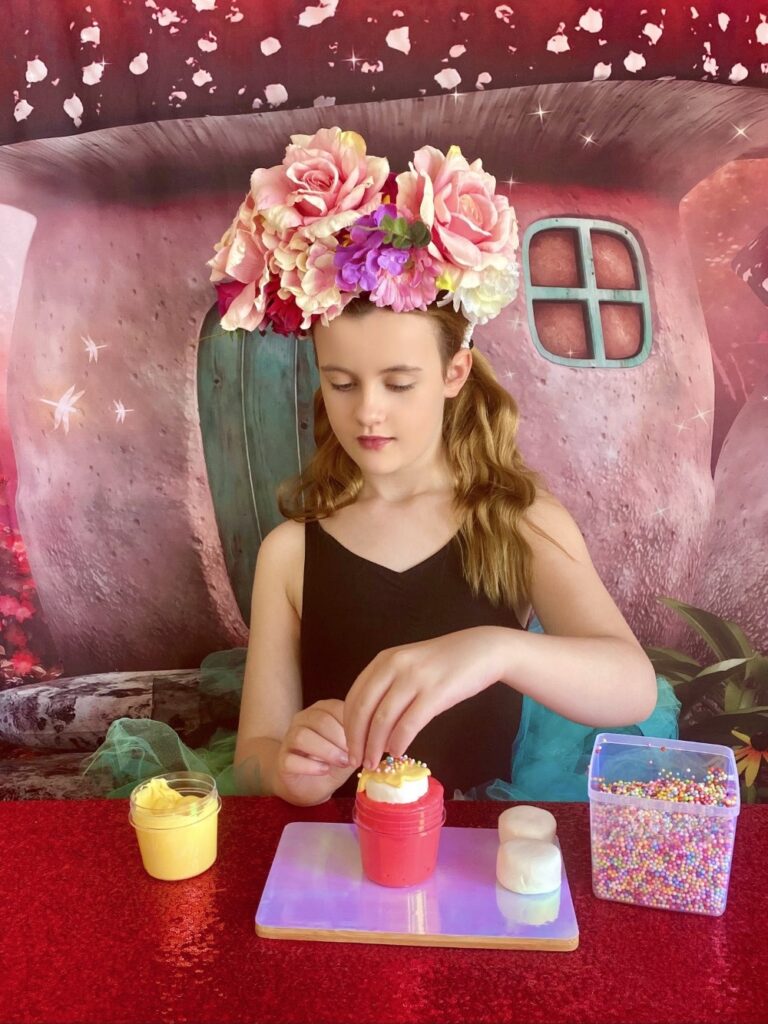
- Open the slime base jar and place a clay round on top.
- Spread butter slime over the clay.
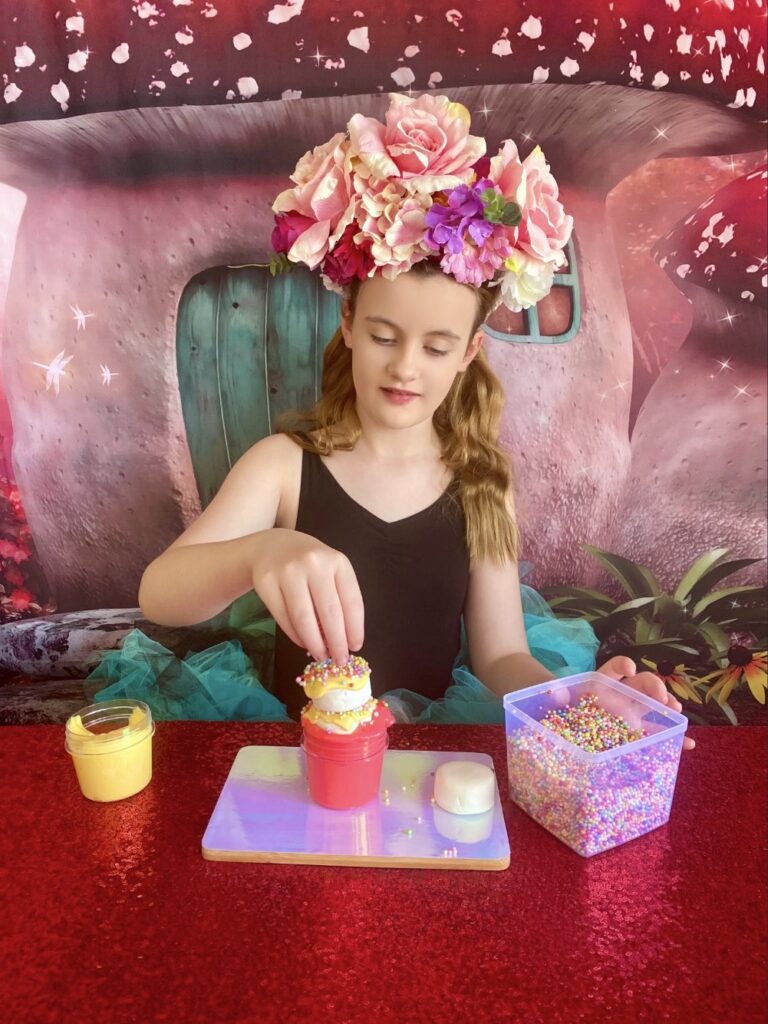
- Sprinkle rainbow foam balls on top.
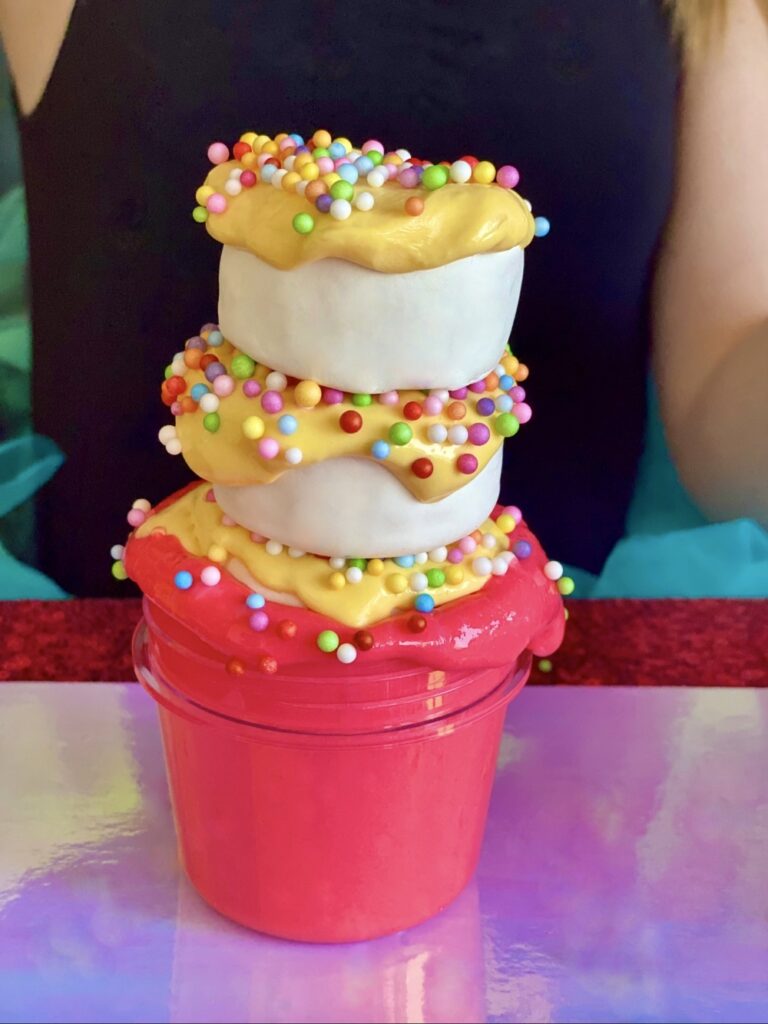
- Continue stacking clay rounds, butter slime, and foam balls (we used three layers).
- Crush the fairy bread layers into the slime base and watch it stretch and spill over.
- Remove slime from the container and place it onto the breadboard or play surface.
- Mix everything together and enjoy the squishy fun!

Enchanted Fairy Games
After the slime is made, keep the fairy magic going with more enchanted fun.
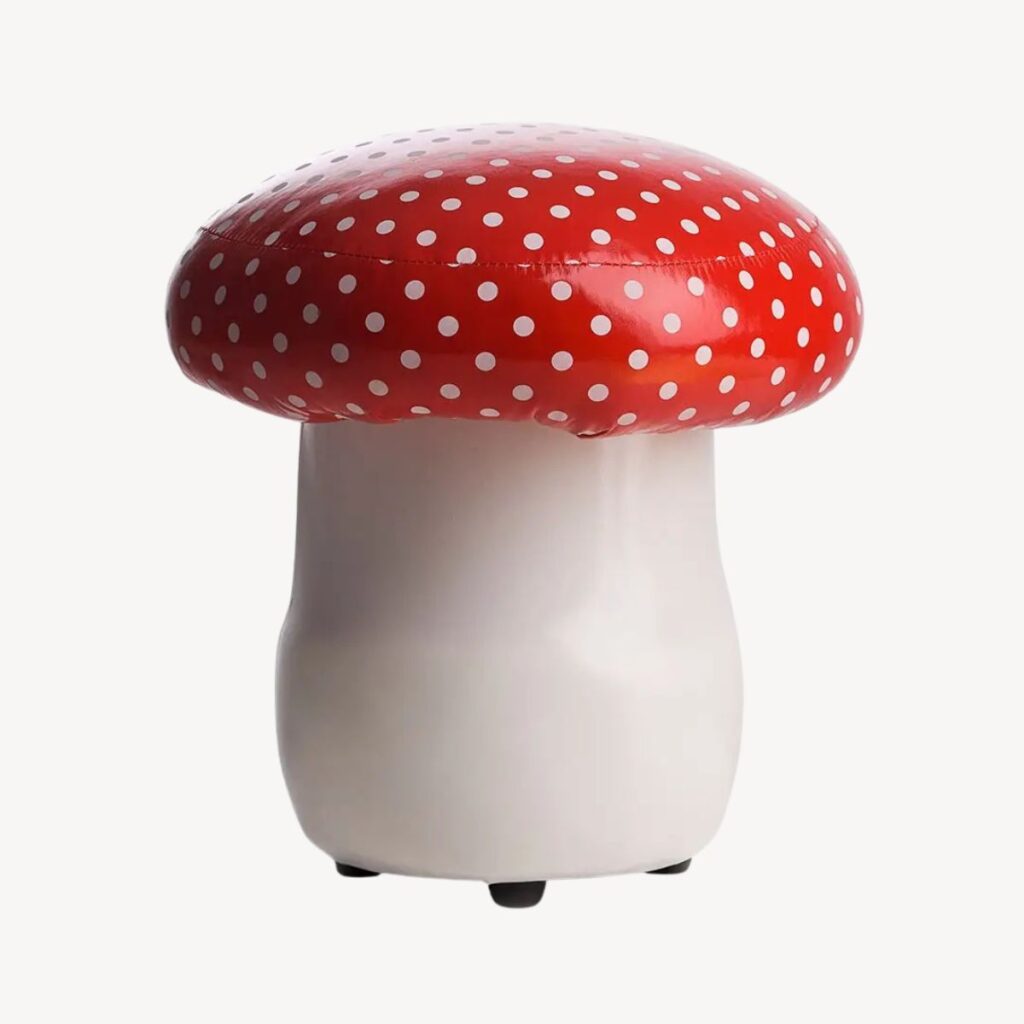
- Musical Mushrooms: Place mushroom stools or cutouts on the ground. Play music while children walk, dance, or flutter around the space. When the music stops, everyone must sit or stand on a mushroom. Remove one mushroom each round until only one fairy remains.
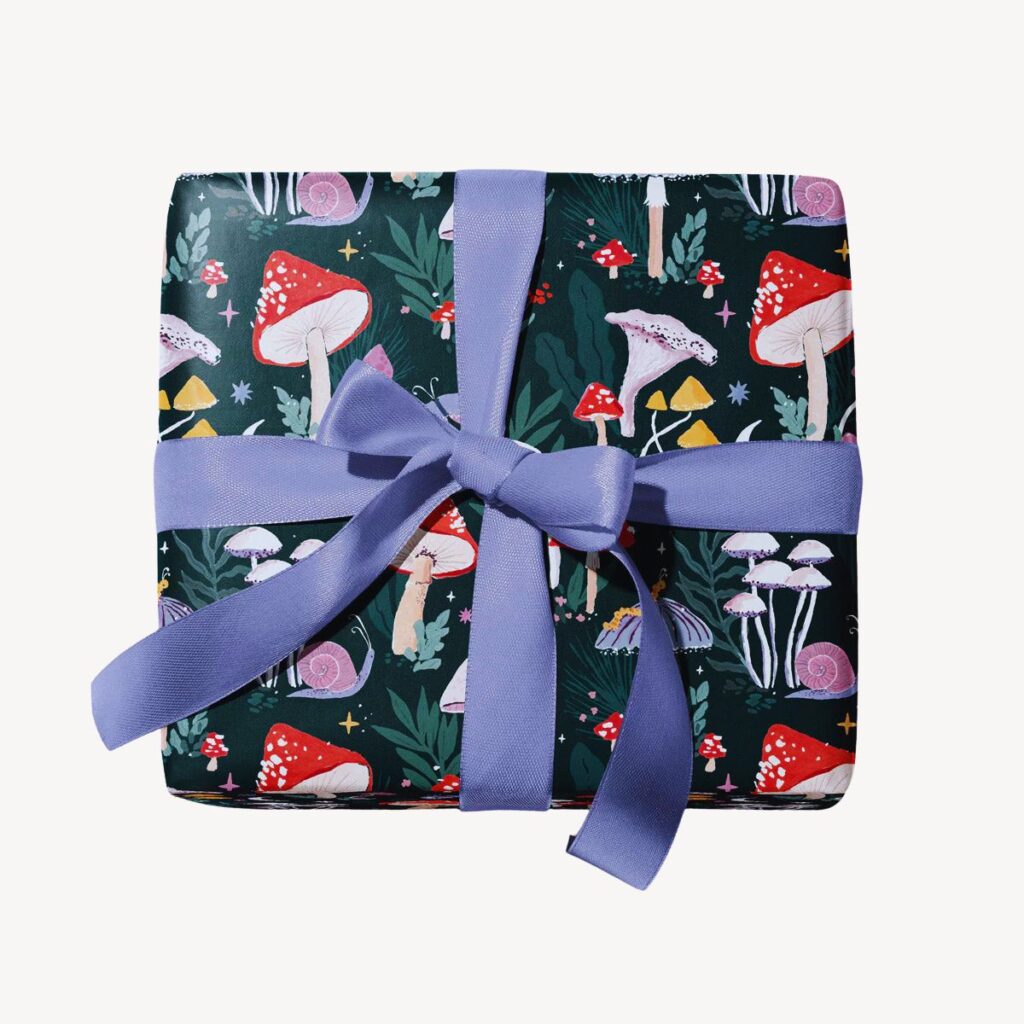
- Pass the Parcel: Wrap small fairy-themed prizes inside layers of wrapping paper. When the music plays, children pass the parcel around the circle. When the music stops, the child holding the parcel removes one layer of wrapping. Continue until the final layer reveals a special fairy treasure.
- Fairy Dance Freeze: Play whimsical music and let little fairies flutter, twirl, and dance around. When the music stops, everyone must freeze in their most magical fairy pose. Anyone who moves is out for that round. Continue playing and freezing until only one fairy remains.
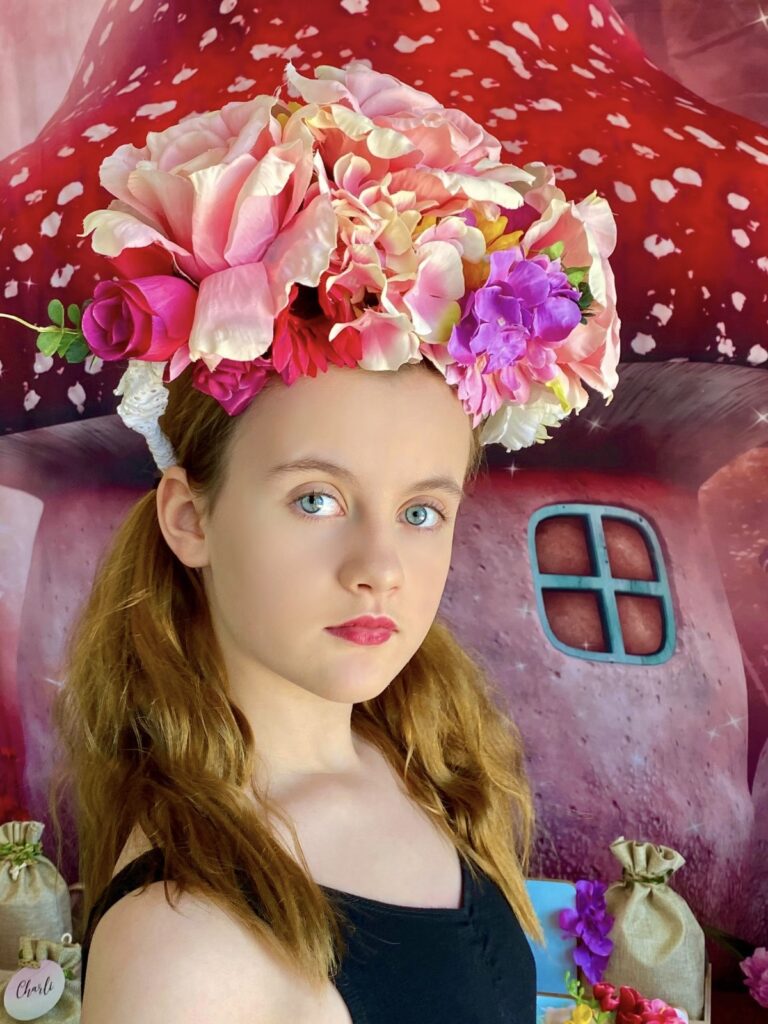
💡 Tip: Set up a Fairy Photo Booth with flower crowns, fairy wings, and soft pastel props for dreamy photos!
Sweet Fairy Treats
After all that slime-swirling and fairy game fluttering, your little fairies will be ready for some enchanted bites!
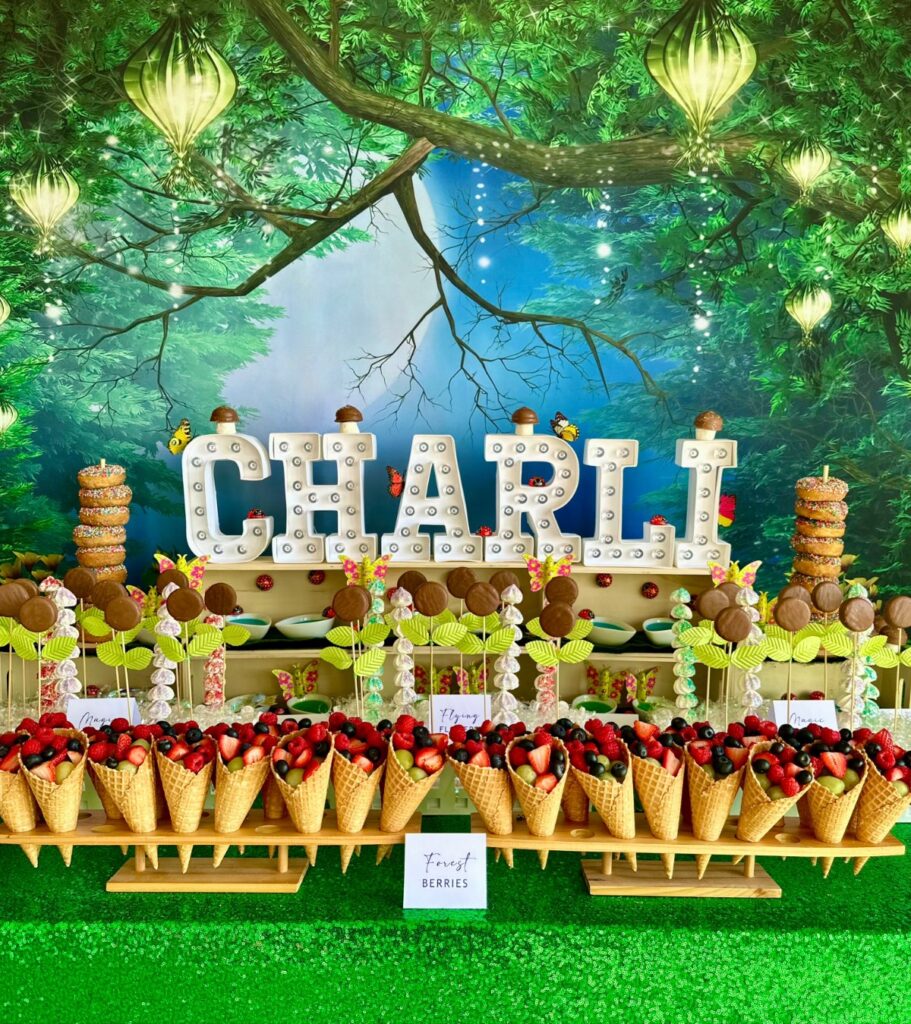
- Magical Munchies: Set up a whimsical treat table featuring Flying Flowers, Magic Meringues, Dancing Doughnuts, Mystic Mushrooms, Jumping Jelly and Blooming Butterflies. It’s a rainbow of flavours and fun that will delight every little fairy!
- Pixie Punch: Create a fairy-themed lemonade stand with a glass dispenser filled with rosy pink lemonade. Add edible flower ice cubes or sprinkle-filled confetti cubes so every pour sparkles and swirls. It’s a twinkling, sip-worthy treat that feels straight from a fairy fountain!
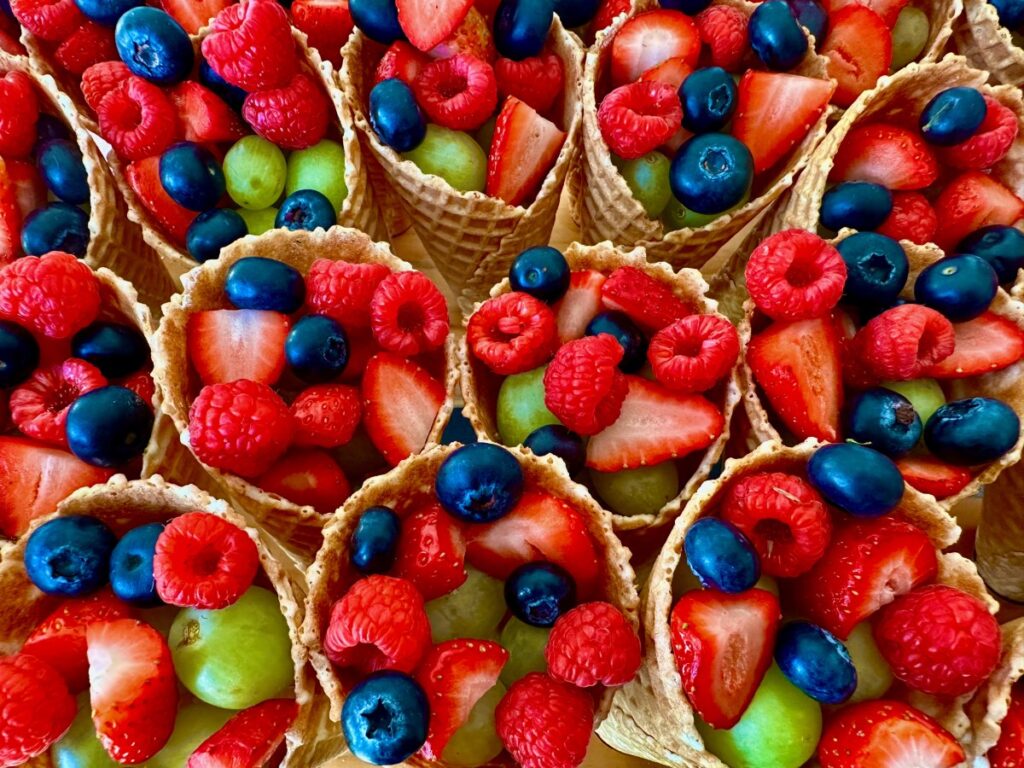
- Enchanted Fruit Wands: Thread strawberries, watermelon stars and grape “dew drops” onto skewers for a fresh, colourful treat that feels like it was gathered from a fairy forest.
💡 Tip: Create a “Fairy Toppings Station” with pastel sprinkles, edible stars, and mini marshmallows so kids can customise their treats.
Magical Fairy Party Favours
Send your guests home with surprises that feel like they’ve fluttered straight out of a fairy book, each favour lovingly wrapped and ready for one last sprinkle of fairy magic.
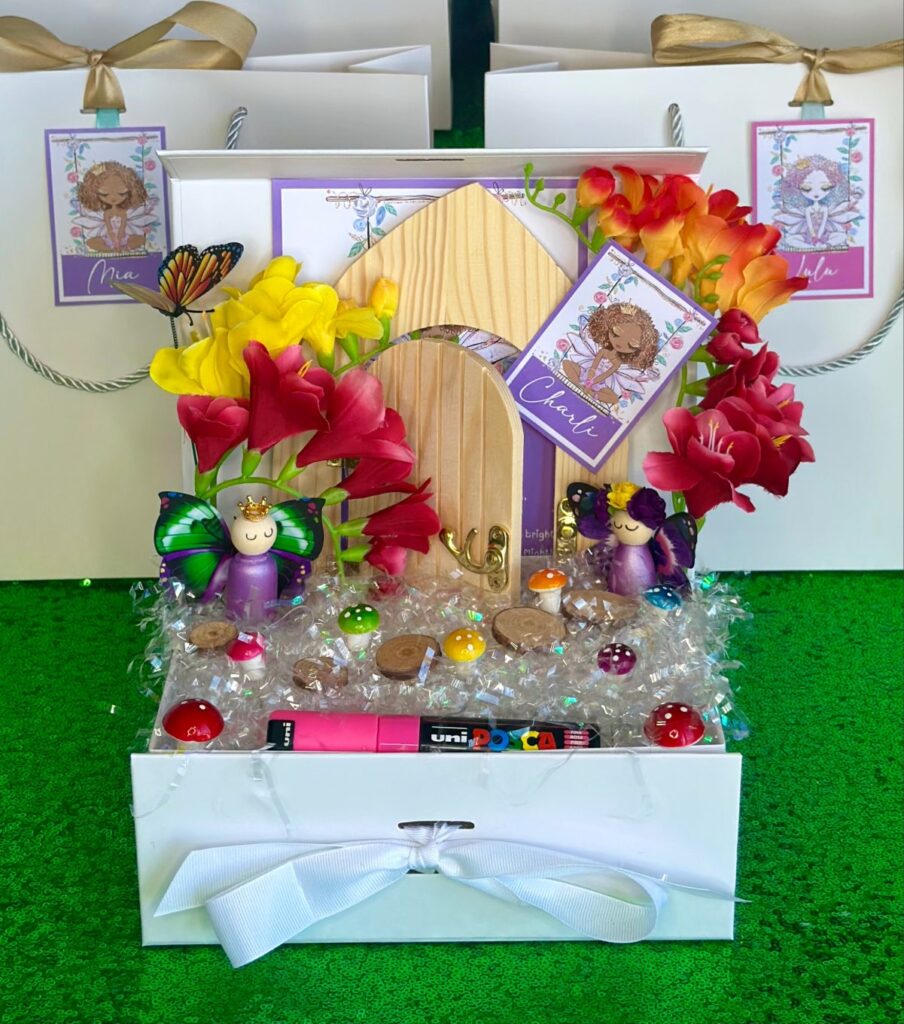
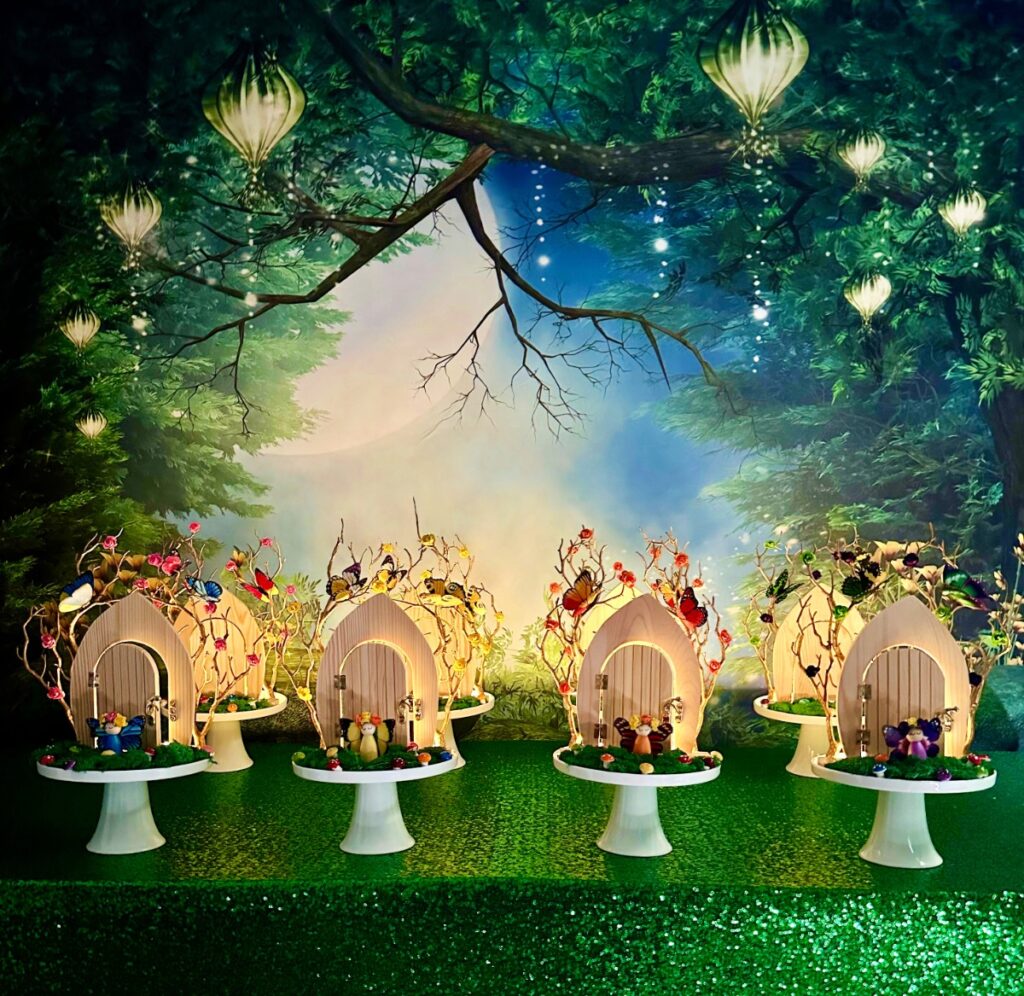
- DIY Fairy Door Kit: Kids can unlock a world of wonder with a DIY fairy door kit, designed to spark imagination and magical play. With Posca paint pens, enchanting flowers and delicate butterflies, kids can create their very own secret portal to the fairy realm.
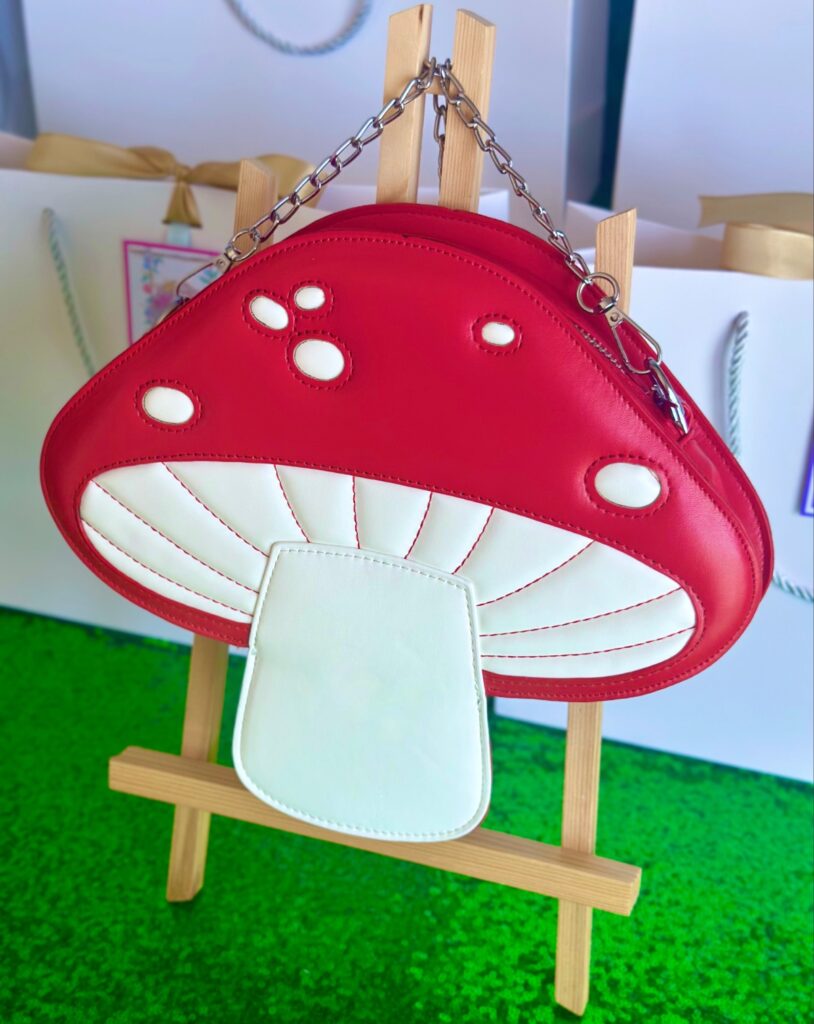
- Toadstool Handbag: Give little fairies a toad-ally adorable red and white toadstool handbag. Shroom-ingly cute and perfect for tiny treasures and fairy adventures. Presented in a white gift bag with a fairy-themed thank you card and personalised name tag.
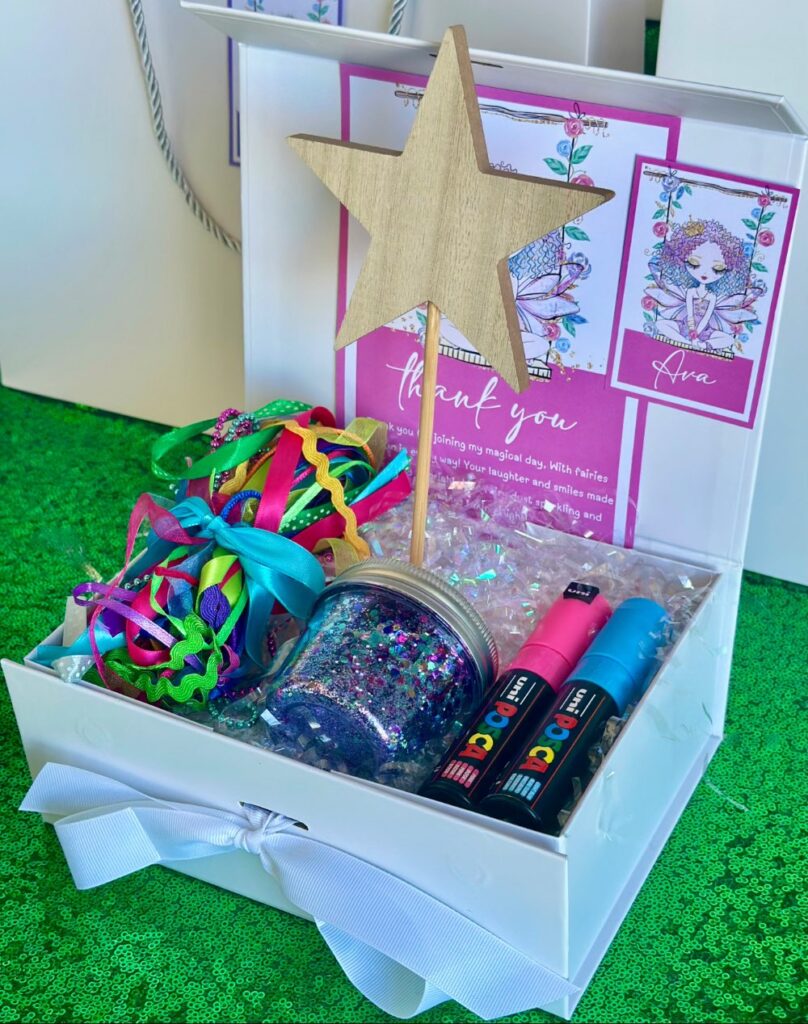
- DIY Fairy Wand Kit: Kids can create their own magic with a DIY star wand kit, perfect for adding a little enchantment to every fairy adventure. With Posca paint pens, colourful ribbons and trims, and glitter, little fairies can decorate their own wooden star wand and make it truly their own.
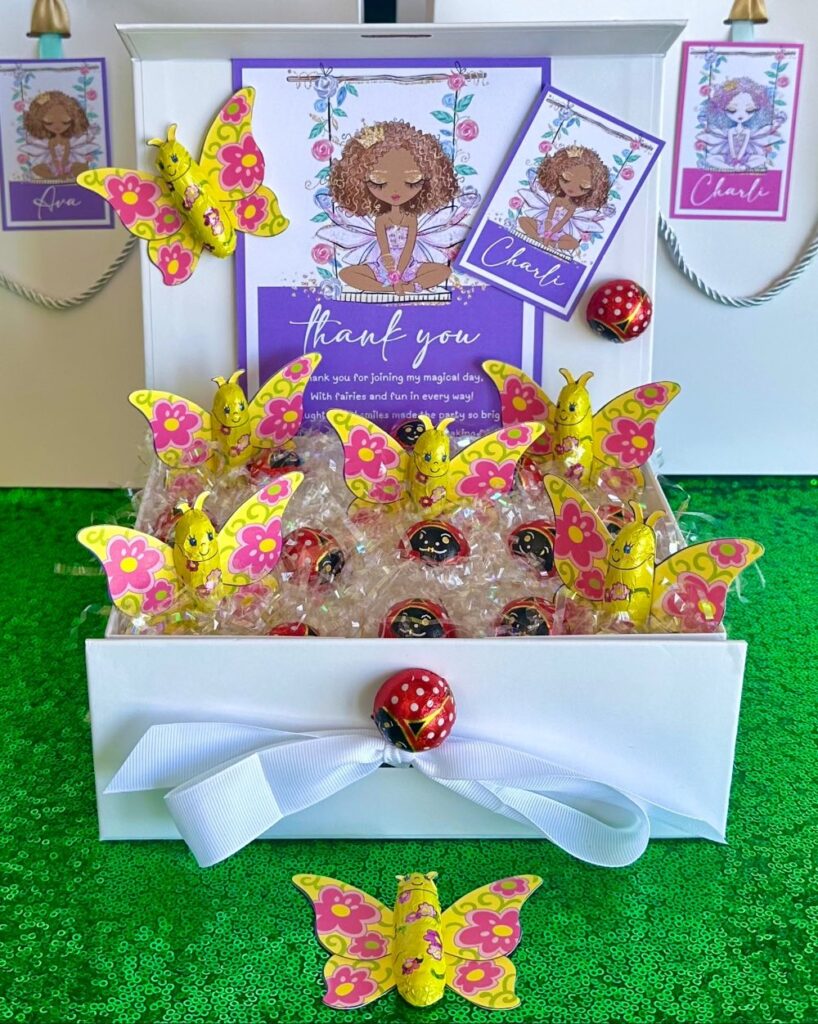
- Fairy Chocolates: Send little fairies home with a sweet, magical treat to enjoy after a day of fairy fun and adventures. Butterfly and ladybird chocolates are nestled in a crisp white gift box on iridescent shred, finished with a fairy thank you card and personalised name tag for a charming take-home surprise.
💡 Tip: Attach a tiny jar of “glitter fairy dust” to each favour for an extra sprinkle of enchantment.
More Fairy Party Ideas to Explore
A Fairy Slime Party is a magical celebration of colour, creativity and hands-on fairy fun. Kids can create soft, buttery slime, swirl in rainbow textures and design their own magical creations. From fairy bread-inspired treats to slime-fuelled adventures, it’s a playful activity that lets imagination take flight in the most enchanting way.
Looking for more fairy fun? Explore these party ideas next:
- Whimsical Wands: A DIY Fairy Wand Party Activity for Kids
- Through the Fairy Door: A DIY Fairy Portal Party for Kids
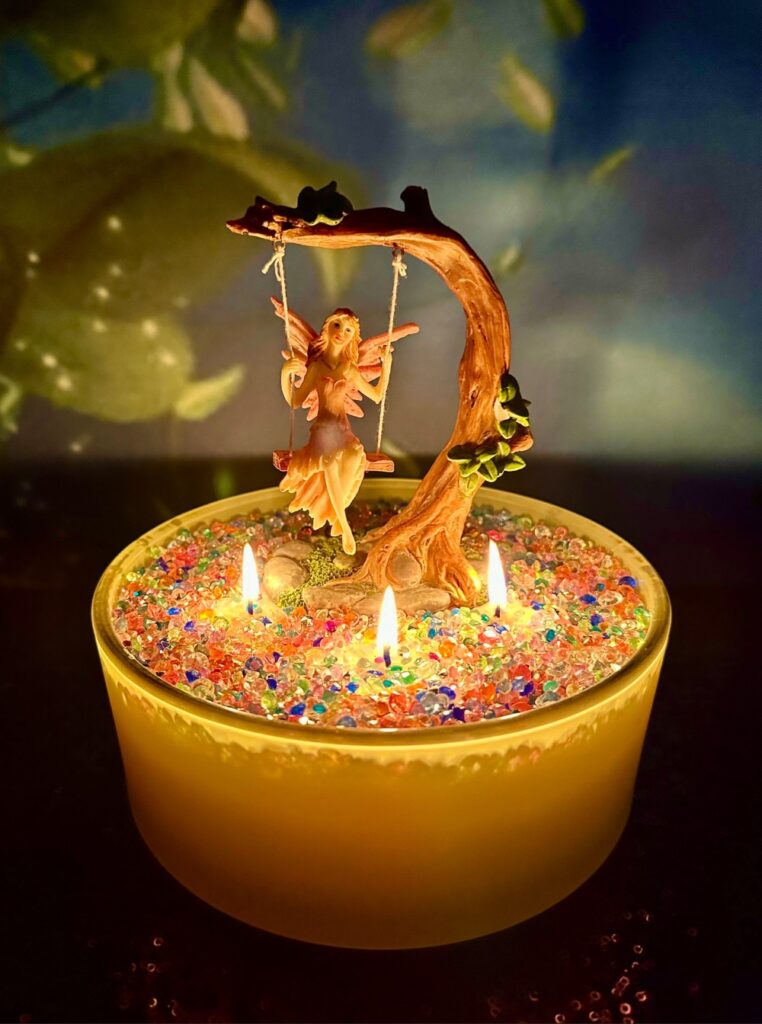
- Fairy Flames: A Magical Candle Decorating Party for Kids
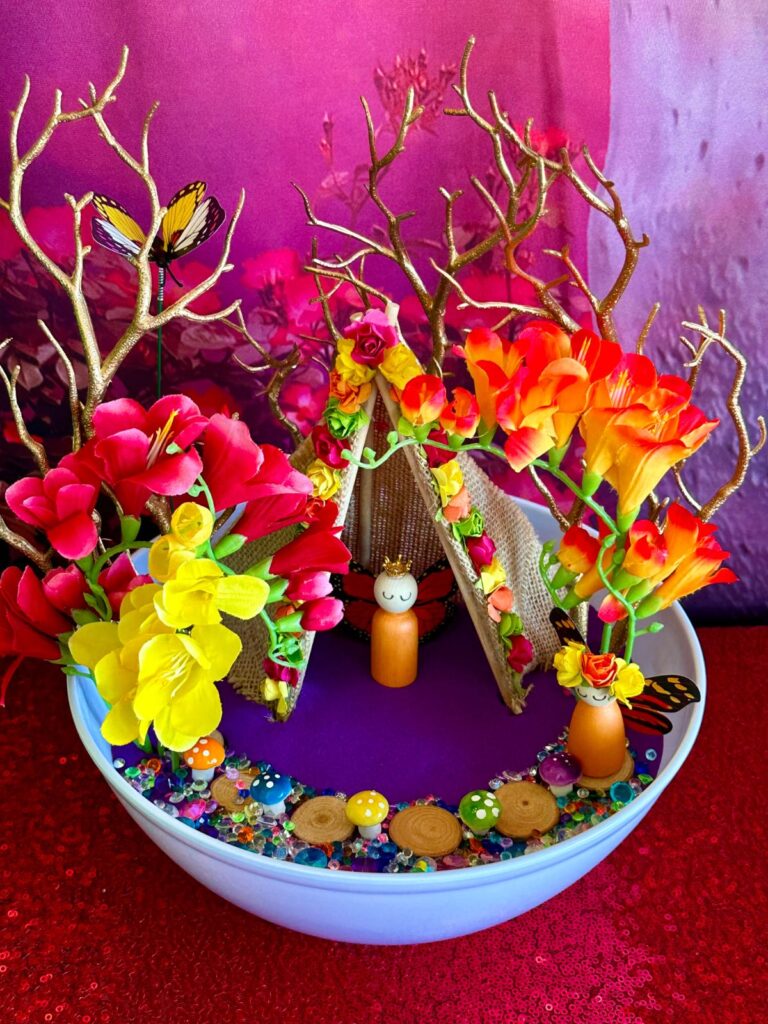
- Whimsical Worlds: A DIY Fairy Garden Party for Kids
Fairy Slime Party FAQs
What age group is this activity best for?
Perfect for ages 5–12. Younger children may need help making the slime base from scratch, while older kids can manage independently.
How long does slime-making take?
Plan for 30–45 minutes. Add extra games or a craft station to extend the fun.
Is slime safe for kids?
Yes, when using non-toxic glue and activator. Adult supervision is recommended when handling dye and small foam balls.
Do I need to prep slime in advance?
For younger children, pre-making the slime base keeps things calmer and less messy. Older kids enjoy making it from scratch.
Can I get matching party items?
Absolutely! We have everything to make your setup shine:
- Custom tees at Inspired Party Merch
- Printable invitations and signs at Inspired Party Design
- Reusable fabric backdrops at Inspired Party Backdrops

Let the Magic Begin!
We can’t wait to see the fairy slime your little guests create!
Tag @InspiredPartyCo and use #FairySlimeParty to share the sparkle.
Loved this post? Pin it for later and keep the fairy fun fluttering.